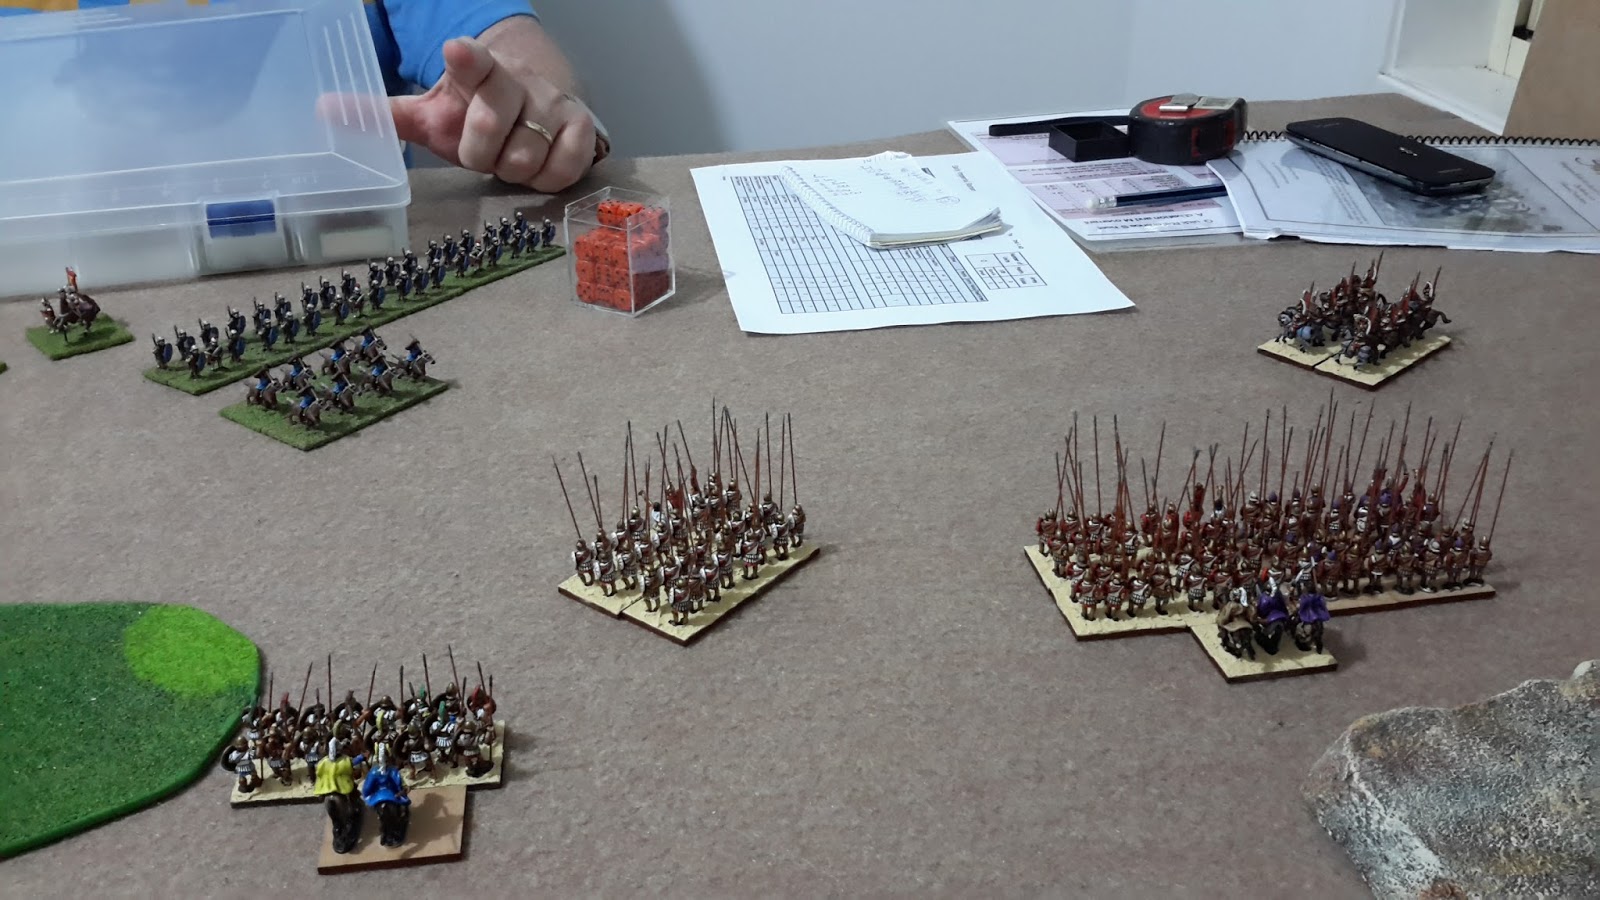
Deployment saw difficult terrain stacked on the Macedonian left so they refused that flank and had the phalanx and companions leading on the right. The Romans stacked their opposite flank but their main attack was led by their archers and cavalry units.


It was uncertain whether the phalanx would be able to travarse the enormous gap between the main enemy battle lines. The Romans too were never able to engage which may well have put too much pressure on Alexander's command dice pool. The Romans decided to rush onto the Macedonian left flank trying to overwhelm it. Key to this would be peppering the enemy line with archers who would infest the central wood. This tactic would prove less than successful as the Macedonians withdrew their lights out of range leaving the archers to fire at hoplites to little effect.

The slingers, straying too far forward, ran back in the nick of time.

Riding hard from the far right Ptolemy arrived just before the Roman cavalry attacked. His billowing blue cloak was seen by the men and inspired them to hold firm. He has consistently fought like a lion in all three battles. Craterus, usually commanding the left flank, can be seen in a brilliant red cloak.

The greek light cavalry tried to flank the Romans. This tactic failed as they were swept away by the opposing light cavalry who then turned the Macedonian flank. This unit had a chance to do this but the noble general Craterus, who had not performed well in the last battle loosing his flank, made the single critical discipline check to prevent his allied Greek cavalry unit from routing.

The action on this flank was fierce. With the romans defeating the greek light cavalry then their archers destroying a unit if hoplites the confidence of Alexander was beginning to wane. Craterus however was taking matters into his own hands crushing the Romans facing him and running down the general. The subsequent morale test robbed the remaining Roman cavalry of their fresh status.

The key moment above when Craterus saves the day. In the top of the image a second hoplite unit was injected into the fray smashing the medium foot archers to revenge their compatriots deaths.

The heavy lines close the gap. The companion unit on the right of the image would prove key to the conclusion of the battle.

The flank clear of Romans. The slingers introduction to the flank of the final cavalry unit ensured their demise. The allied cavalry under Craterus turned to face the flanking light Roman cavalry annihilating them.

The flank free of Romans. At the top the victorious Ptolemy had joined the remaining hoplites leading them to the fray. By now the Romans had reached their demoralisation point with several units gaining hits from the subsequent tests.
Although the Roman bolt throwers sent several missiles plunging through one phalanx block the Macedonians were able to muster equal heavy foot units to the Romans (who had now lost five units - and thus dice - while the Macedonians had lost but two.) This is when that, so far unengaged, Companion cavalry unit on the right came into play. With each Roman unit matched to a Macedonian block, none could prevent that Companion unit from attacking the flank. The game was called with very minimal losses for Alexander .... his brave march could continue. Hopefully he would soon be able to call on additional units and expand his battle to 500 pts.
No comments:
Post a Comment