Wednesday 20 November 2019

The Prussians are Coming


The cat is out ... my Prussians are being daubed. More posts to follow soon. 

Ancients Boards


For many moons the concept of creating a desert table - better than my current desert mat - has danced around my limp brain. Suddenly in sprang to life ... 


I watched some YouTube vids - I really like 'The Terrain Tutor' and 'RubbishInRubbishOut' - and developed a plan to do some multi-purpose filler stippling and then some dry-brushing. I was prepared to completely stuff up the first attempt but tried to avoid this by doing some small test pieces. In the end both turned out well - possibly due to the aid of my Terrain-hound - Nina. 


I like using cheap paint from the two-dollar shop but you need to mix it up. In a larger project this can cause issues with different batches being slightly different colours. I was going for a milk chocolate brown as a base then layers of cream, yellow, reddish ochre then more cream as highlights. 


Oh yes, the stippling. I have never stippled this much before and this was only a 4' by 3' table suitable for ADLG and skirmish games! I used two layers of stippling. As I many intend the table for 15mm figures (at first) I didn't want large ridges from stippling. My second stippled coat also used a water down multi-purpose filler rather than going for an undiluted mix. 


Hmmm, ridges ... 


And then two days later it was on ... 


Even though the sun was streaming through the garage door of my friend Warchief Ian's barbarian hut, you can still see the finished table. Looks good with my Macedonians - even though my bases were a little lighter. I didn't want to go for a full sandy desert appearance - a dry or semi arid table would best suit my purposes. 

I haven't decided on flock ... yet. Still not sure. If I do flock then I won't be able to complete the final phase of my plan - see below in conclusion. 


We did find that the tables were a little tacky and the figures didn't slide too well - even though I was using mdf based. The Terrain Tutor does suggest a sealing coat of PVA and water to protect - but it might make things a little slicker too. I have not tried this as yet. 


Note below the blurred hand of the Warchief showing his lightning speed in manipulating the dice ... many believe this belies his uncanny talent for rolled 6's. 


And there it is ... my new tables. But that isn't the finish yet. I actually plan to make these double sided. I will finish some double sided test pieces first - just terrain shapes I use to represent woods or rocky ground. As long as the profile is not too raised ... I'll move ahead. 

Lion Rampant and the Great Heathen Host 865 AD


This week's game saw a return to Lion Rampant and a very large game at that. I had almost doubled the points (from 24 to 46) for each army. I enjoy setting up my dark age terrain and figures. This was part of my 'Britain of my Mind' project and (terrain especially) represents more of a dark age fantasy of misty moors and rocky tors. I find this setting very evocative. 

The Saxons had more Foot Yeomen (we called them Fyrd) while the Vikings had a mix of Foot Sergeants (some armed with 2HW) and some fierce foot (representing raiders from Dublin.) Many of the units on both sides had a shieldwall rule - basically the schiltron rule but able to move at half move while in such a formation. I haven't yet found the right rules to appropriately house rule the Dark Ages as yet ... shieldwall is good but the defender still has a large advantage as Foot Yeomen and Sergeants in Lion Rampant fight at a better defensive factor than when attacking. This led to (especially later in the game) both sides being unwilling to attack. 


Here the Saxons - led by Thegn Micko were certainly the aggressor on the evening - assaulting the Viking. They have almost reach the gate of their camp. This attack would eventually fade in ferocity as units were depleted of points then some became battered others lost. The Saxon right flank failed activation tests and only pressed too late in the game. 


This photo is just to show how unkind the flash can be to my figures. The top image is much better. 


Blows were dealt on each side. Once those casualties mount things become very hard in Lion Rampant. Courage tests are failed and once at half way the unit becomes almost useless - its combat dice are halved. 

(Note: I don't remove casualties but instead mark this with the read numbers. Also, I have yet to create shieldwall tokens so I used the blue markers shown above - I think they were made for ... ACW 'Couldn't Hit and Elephant' rules ... I need to dust those off one day ...) 


Here the rather inactive Saxon right tromps forward in a slovenly and disjointed manner. They marched into the teeth of two bidower units whose shooting took a consistent toll on the Saxons. By the time they contacted the enemy, casualties significantly weakened them leading to courage test failures. Once battered they were east prey to the Vikings. 

A good game was had - many perished but England has not yet fallen. The Vikings were victorious but significantly bloodied. Alfred will need to rally his men ... perhaps even head to a marsh and take up cooking? 


Wednesday 6 November 2019

Blucher Rides Again

(The French centre trades cannonades with Austrian and Russian batteries.)

It has been a long time between posts.

(The Russian centre fires but makes no form of advance. Such decisive indecision enable the Austrians to be isolated and destroyed.)

This hasn't meant a halt to gaming or painting but instead just not having time to blog.

(The brave but doomed Austrian were nibbled away by French skirmish fire. Goaded to charge they were repulsed along the line then the skirmish fire renewed.)

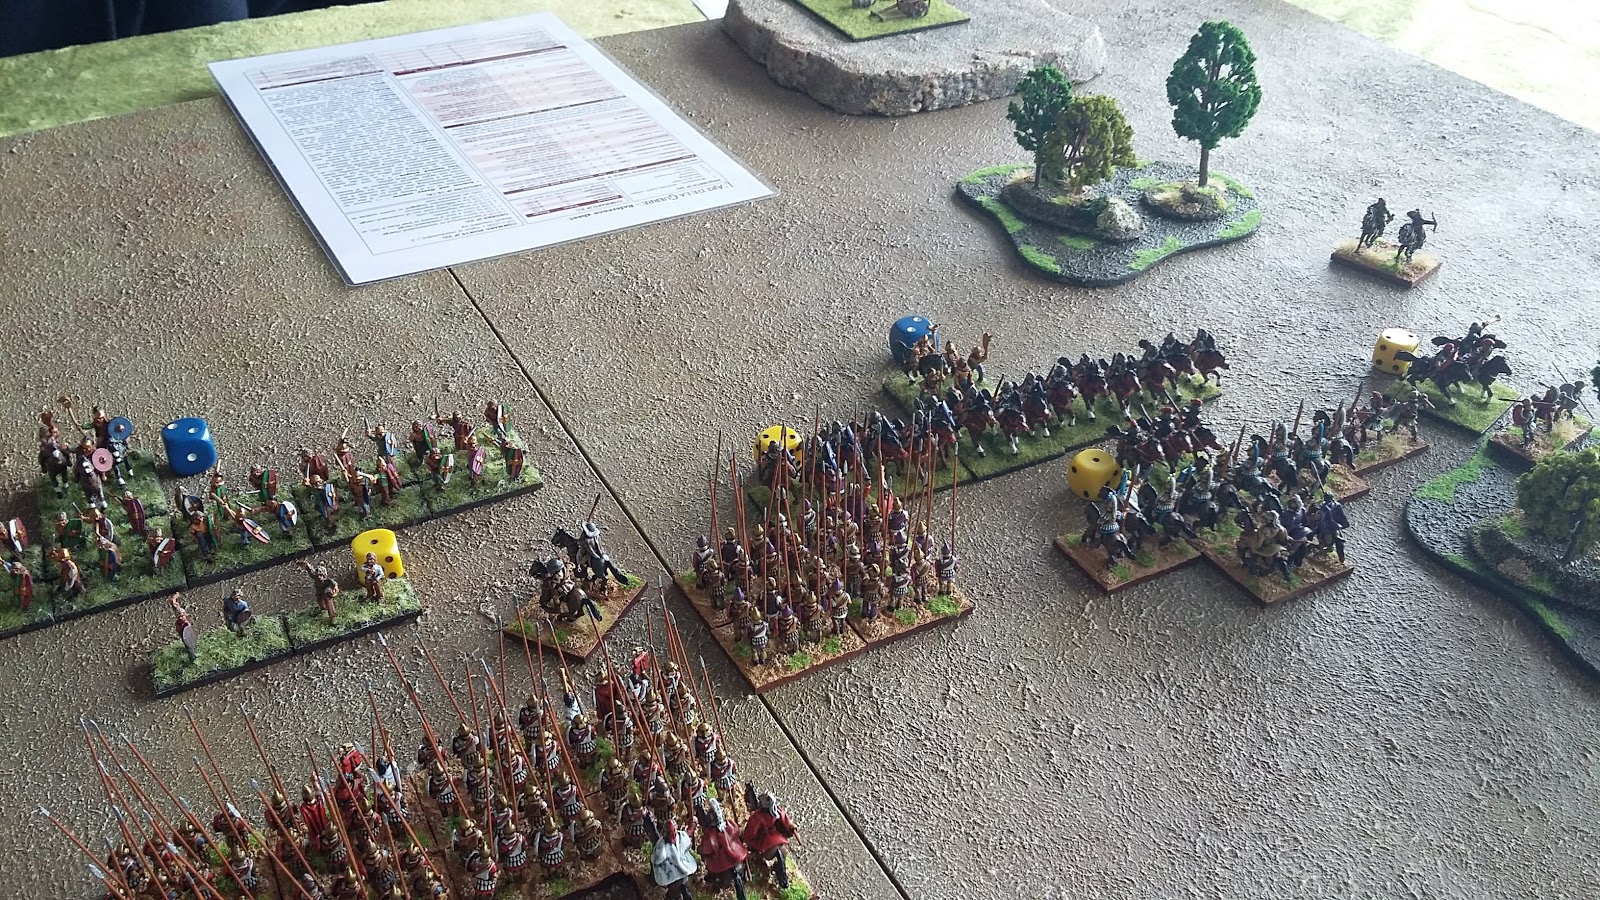
This Tuesday a four player game of Blucher erupted. We kept things to 200 pts as it was a weeknight and all must work the next day.

(The French right hook. A mixed force of infantry, artillery and a light horse unit would pummel the Austrians before them.)

I ran my beloved Frenchmen while an evil duo combined Austrian and Russian forces against.

(The French centre held firm, ready to respond to an Russian push ... which didn't arrive in time.) 

The game was can be summed up with the following ... a massive right hook smashed the allies.

(Hmm ... Graf von Panther in danger? Who's for another glass of red?) 

Six units were lost while no French units succumbed to their injuries and/or fatigue.

(Forward!!! Ah, my beloved chasseurs.)

In looking back I would say the Allies simply took too long to respond to the avalanche descending on their left wing. This enabled it to be repeatedly hammered unit units were removed.

(These men would soon be running for Vienna. In their defence they were freshly painted and in their first game ... and we all know how that works out - don't we wargamers!)

Blucher is easily my favourite Napoleonic rule set but I do need to figure out how objective markers (NOT special objective markers) are used to achieve victory. They don't seem to play too much of a role. Time to check forums (as much as I hate that activity) or house rule.

(The centre of both sides held off allowing the Allied left to be engulfed. The alliance might be endangered after this.) 

Will post some images of my steadily growing Prussian army soon.