Thursday, 2 March 2017

Dark Age Sword and Spear

It was a chill morning that greeted the men from Wessex and Merica as they rose and readied their weapons and formations. Athelstan had pressed far to the north and York, his target, was visible in the distance. The men of the Danelaw, and those Northumbrians who stood for an independent northern kingdom, stood firmly in their path united by the fierce Eric Bloodaxe. He had sworn to stop this tyrant who threatened to gather all Britain under his sway by the point of his sword. Now nothing could prevent a collision that would force a new political reality upon all - English, British, Danish and Scot ... even the slavers of Dublin would be forced to pay heed to victor of this momentous day.


Part of the Viking line. 

The rules used were Sword and Spear and the armies were (roughly) 400 points. Both armies had a General and two captains. 

The Saxon force consisted of ... 
3 Lesser Fyrd 
6 Select Fyrd 
4 Thegns 
2 Javelinmen 

(I chose to reduce the points cost of all Thegns and Fyrd by ignoring the spear cost. In this battle no cavalry would be used and spear offers no benefit against foot troops.) 

The Viking army was ... 
3 Huscarls with Two Handed weapons (dane-axe) 
8 Warriors
2 Archers 

(Despite the image in the background of some photos the Viking stockade does not resemble a Fortified camp - even though it could. Maybe in a later game ... hmmm ... perhaps an attack by Mercians to retake Repton ... will need a saxon church though ...)  


The Saxons deployment with a double line of troops protecting their longhall camp. Athelstan stood proudly in the centre of his men. 


The Saxon right relied on this steep hill. It was difficult going which slowed all movement to a crawl and prevented units from generating impetus dice (which we only recalled near the end of the game.) 


The Viking centre pushed forward with Eric Bloodaxe leading the huscurls. These experienced warriors wore stout coats of mail and wielded large daneaxes - enough to splinter any shield. 


On the Viking left a strong force pushed toward the hill. Bloodaxe had little depth to his formation and spread his troops in a line trying to extend past the Saxons on both flanks. Lurking behind here can be seen the beserker unit which would play a bloody role later in the game. 


The first blow was struck by the Saxons as a unit broke ranks and tore down the hillside impacting heavily into one unit of huscarls. It took three hits in the initial combat. 


The Saxons strove to fit their large numbers into a confined space between steep hill and wood. 


Athelstan led the fyrd of Wessex against the Huscarls of the Danelaw. Theoretically this should have been a massacre but the farmers would stand their ground manfully. 


The Viking placed their troops in a near straight battle line across the field. 


Both sides paused before widespread conflict insued. Bloodaxe was struggling for good activation dice to press his advantage on the wings. This was slow in coming allowing the Saxons to advance in the centre.


Forward! 


Send them back south! 


Four 1's is no way to fight and in this dire roll the Viking unit advantage on their right side was lost. The Jarl commanding this flank was also cut down reducing command and rallying possibilities across the field. Odin, Thor and Loki were subsequently invoked by Bloodaxe to mend this disaster. 


Across the table now battle raged. The Vikings were hesitant to mount the hill without their flanking force in position. They relied on their two handed axe men in the centre of the table. 


Fatigue mounted on the Viking side but they clung in the battle. One fyrd unit fell sending a huscarl force barreling forward in pursuit. Here it fell afoul of the Saxon reserve force and it was forced to struggle against two Saxon units. At this stage the outcomes for the Northmen looked bleak. Despite a rush of initial command dice from the cup, two Huscarl units were each beaten in turn by a single Lesser Fyrd unit. 


Finally the Viking left plodded through the rough terrain. 


The Beserker were finally in position. 


The red numbers indicate the numerous points of damage/fatigue suffered by the Vikings who were clinging on. 


The archer unit turned the flank of the furthest Saxon unit and routed it in one turn. Their shieldwall did not protect against flank attack. The archers continued straight into the next Saxon force inflicting more wounds. 


The pursuing huscarl unit fell leaving a hole in the battle line. A thegn unit surged through. 


The beserker charge with impact smashing a Saxon unit. Now Bloodaxe furiously sent orders to the Viking units on their left to turn toward the centre. But the terrain slowed their relief march. 


The centre near the end. On the left the beserker were almost across the hill after breaking two units. With two huscarl units fallen Bloodaxe stood alone with the last remaining. It needed only a single hit to rout it. A unit of Saxon thegns has broken right through and would soon be in position to threaten the Viking camp. The archer unit's pursuit and destructive charge had finally stopped but it had inflicted many hits. All other Viking units had fallen in this area (3 alone in the final turn.) 


The other angle. Viking units were sparse but the Saxon army had fallen from 13 units of heavy foot to just four. Their army had broken. Bloodaxe had reached his demoralisation point and if he rolled a 1 for his huscarl unit these too would rout ensuring a mutual break. However this was not to be and Eric Bloodaxe's iron resolve held his men in place. 


It has been close ... very close. The initial combats and command dice favoured the Saxons but (as usual with sword and spear) momentum usually shifts. The Vikings steadily took units from the Saxons who sustained over 30 points of damage as 8 of their 13 heavy foot units were lost. The Vikings in turn lost six - three in the final turn almost routing their army. For the Vikings, finally turning both flanks won the day although the deeper formation of the Saxons certainly wore down the main Danish line. Athelstan did not try to bring his superior numbers to bear but instead used the terrrain to wedge his army in then funneled troops in from the back as the front line fell. For a game that essentially used only heavy foot units (about 24 in all) both players certainly had fun and felt it was a more tactically interesting game than it might appear on paper. 

The impossible had happened. Athelstan's grab for total power and widespread tyranny had been temporarily halted. Bloodaxe was triumphant. Sound the horns and prepare the meadhall! Danelaw and Northumbria remained free. But Eric would need to reorganise his forces as Athelstan would be sure to draw on his reserves of manpower and return for another attack. Time would tell. 

Wednesday, 1 March 2017

The Maurice Campaign Continues


The third battle in the War for Maria's Mirkin saw the bellicose French striving to stave off a Prussian thrust across the Rhine. Unfortunately, things did not go the way of the Gauls and the Prussians have tipped the scales of the war to the favour of Protestant powers. It has even been rumoured that Versailles has lost the taste for war!


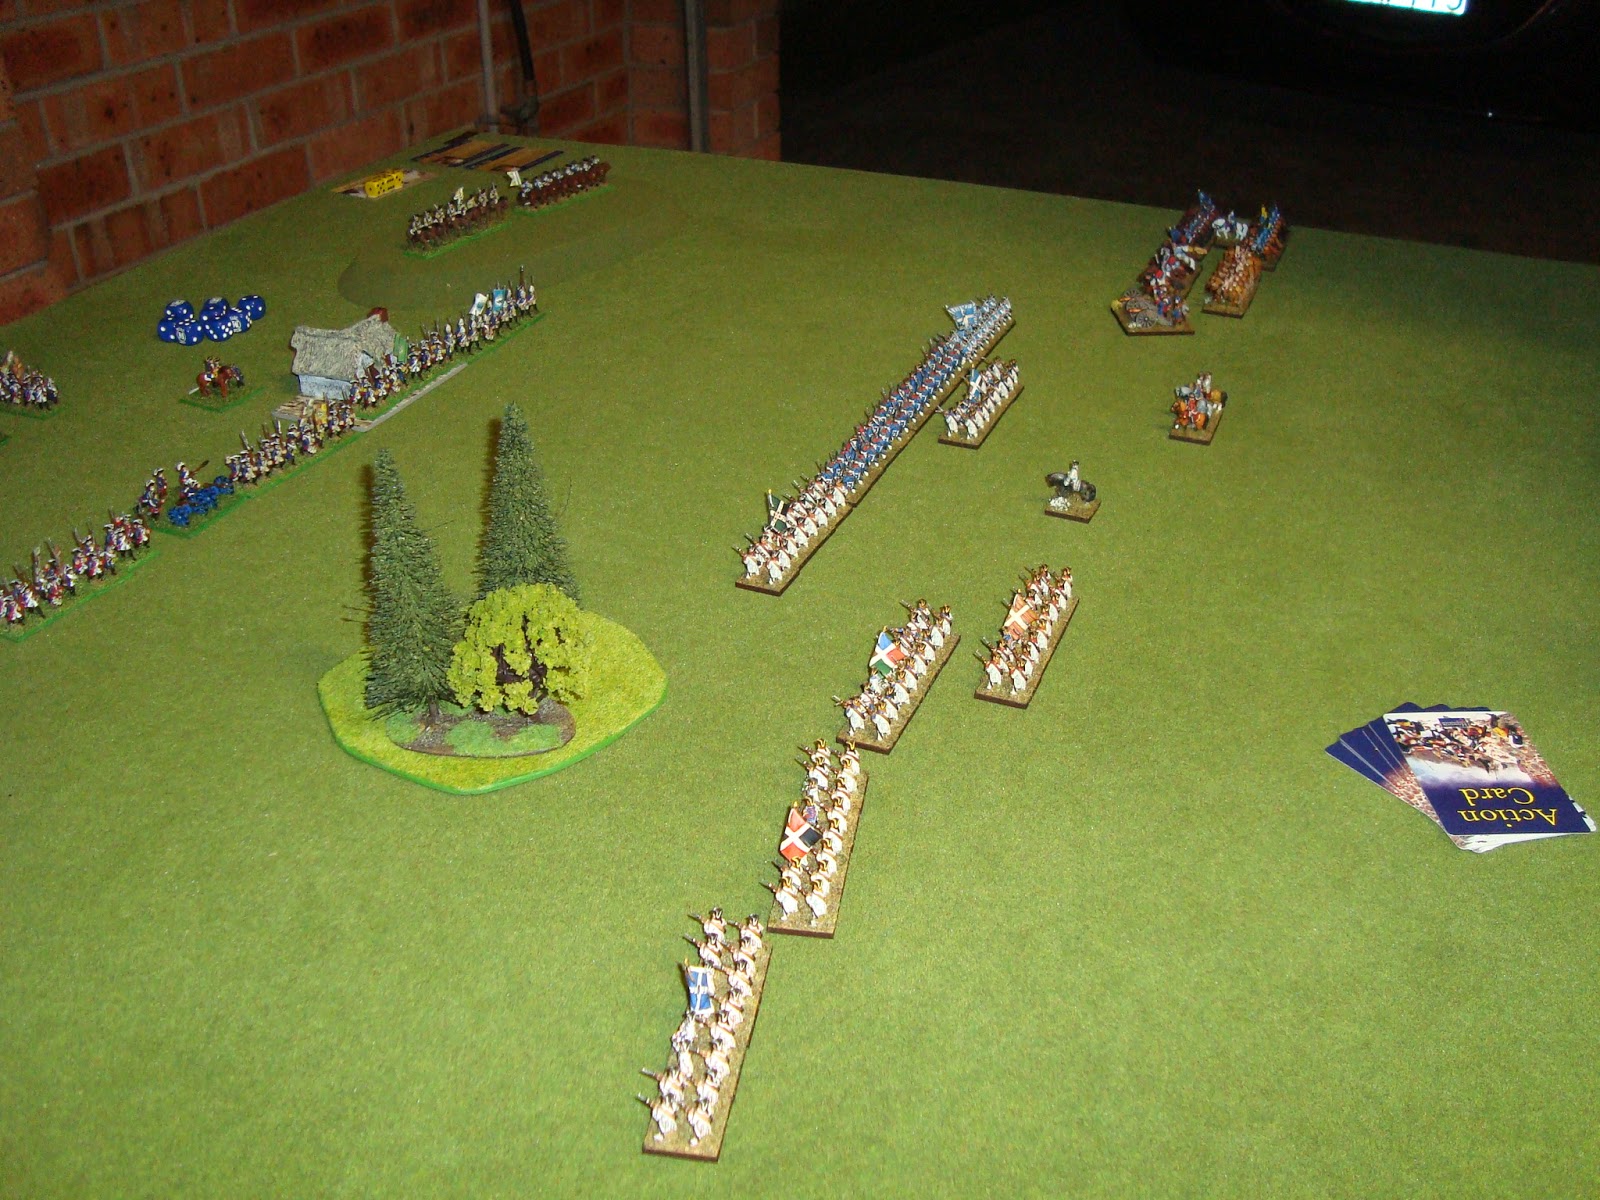
The defenders line up. Attacker is still choosing a spot for his cavalry.


And off they go ... A french infantry push begins.


A seemingly sensible French infantry formation. 1st line and reserve.

On a rain soaked day it was the French that were the aggressors and massed for an attack in depth against the Prussian left flank. At this the Prussians were slightly relieved as here were their better troops. The other flank was held by conscripts who played no role in the battle. The French used their usual tactic of marching quickly and directly into contact. Cavalry met on the flank and infantry were not long after committed. The French created two local points of advantage where two of their units fired on and fought against a single Prussian unit. The Prussians clung doggedly to their defensive line which infested village strongpoints but could rely on no reserve force. The French on the other hand possessed what seemed to be a strong reserve of infantry awaiting in column formation to be injected into the fray.


French dragoons fight Prussian cuirassiers.


Can the Seydlitz hussars hold on against the French infantry?


The cavalry lines continue to surge back and forth.


The French reserve awaits the order to advance.


The French advance continues ...


The Prussians are ready.


Close in fighting. These two images show the local advantages gained by the French. These were not to count as somehow the Prussians not only held but overcome their foes.


Despite these apparent advantages the Prussians earned their reputation as the 'blue wall.' The Prussian fusiliers loaded and fired with precision, seemingly unaffected by the wet conditions, mowing down the French attackers. The Gallic marshal was heard to bemoan, "Ils re mort pour moi," as he turned his steed toward Metz and retreated with the last of his troops.


From here the game was suddenly over with the cameraman unable to secure images of the French line's collapse. How did it all go wrong? Maybe someone did not keep their powder dry?


As the smoke cleared and the rain continued to fall, the colours of seven French regiments had been taken while only one Prussian unit had routed. (French = 1 Epic Point - Prussia = 5 Epic Points)

The cut and thrust of the battlefield may well subside as the discourse of ambassadors takes precedence. Or will Austria make a last ditch sortie into Hanover and cut the Protestant supply lines thus forcing the Prussians to retreat? Time will tell.

Thursday, 9 February 2017

An Amphibious Blog

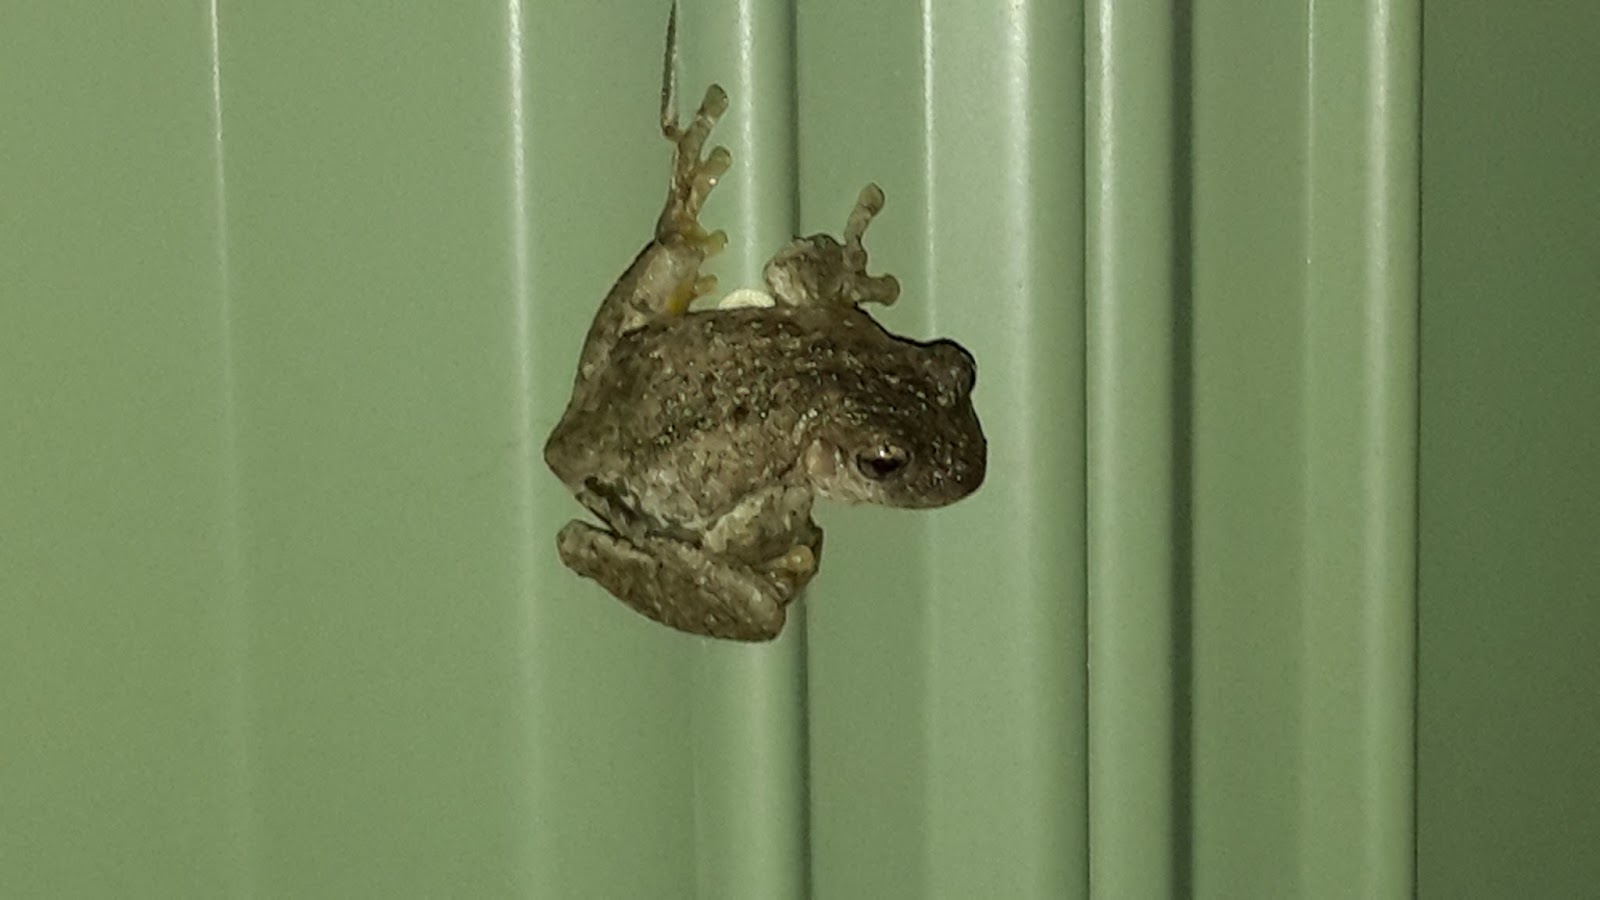
Throbbington Manor has had another froggy visitor in the last week. He was very welcome. Never much of a cameraman, i have included flashed frog and unflashed frog.


Tuesday, 24 January 2017

A Seven Years War Extravaganza

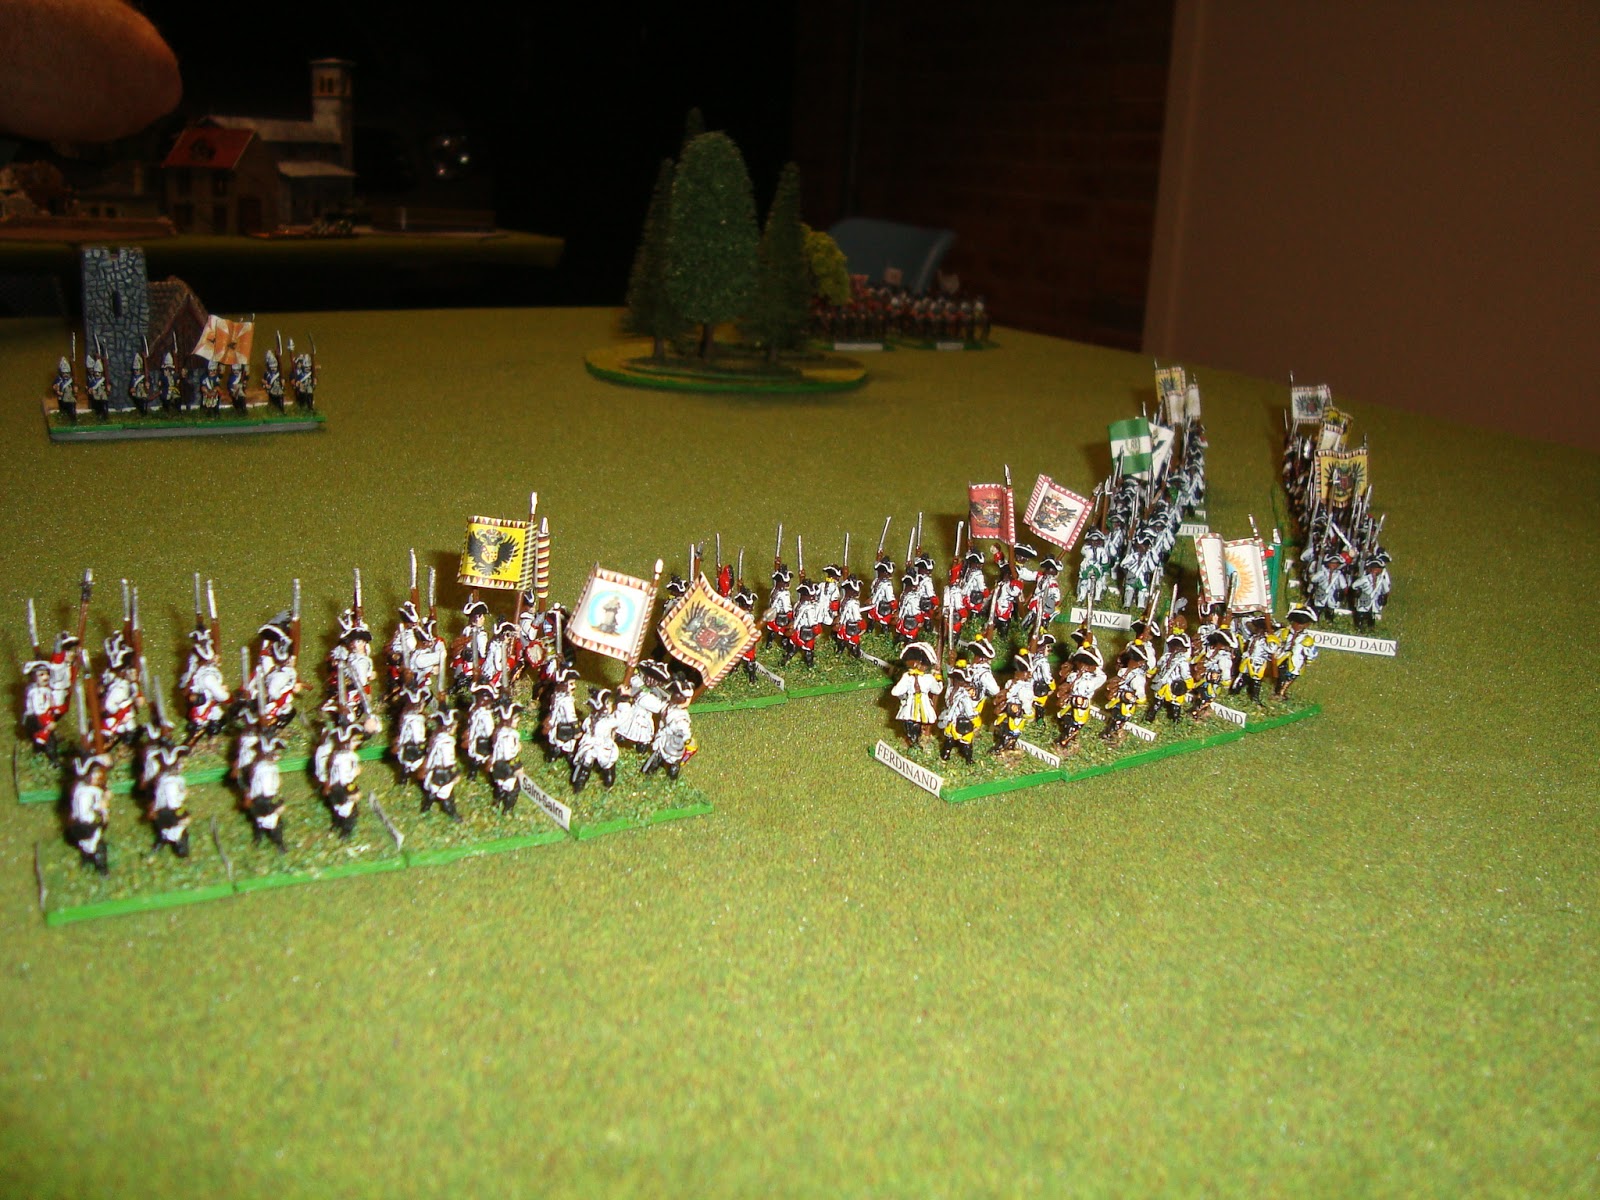
The following images depict 5 or 6 battles of Maurice, Sam Mustafa's excellent rules for 18th century battles. My little club enjoys these rules very much and finds they provide excellent battles which seem to recreate the period very well. 


The first game happened some time ago in 2016. This was one of the first games of Maurice we had won by the attacker (i think.) It also marked the first time I didn't muddle up a flanking attack ... my previous attempts were more akin to the Prussians at Kolin. This one went like clockwork and the French force was decisively beaten. I love the above image of the 'Blue wall.' 


A long shot of the Prussian vs French struggle showing the French moving troops to the flank to repel the attack. 


Next are more recent games from 2017 and all are from our Maruice campaign. As mentioned we are only a small club and have 4 people in our campaign - Austria, Prussia, Anglo-Dutch and French. Above the Austrians (me) are on the attack. I decided to challenge myself and enter an army with a dominant cavalry arm into the campaign. It almost drove me around the bend trying to visualise how to use the army on the battlefield. I have gotten into a muddle a few times but finally worked out to advance gradually and use your infantry to dictate where the battle will be fought then flank with cavalry. 


Here Prussia and France do battle. The French chose to march right over the top of the Prussians but it didn't work. Defeat was snatched from the jaws of victory as the Prussians fought doggedly finally reducing the French moral to breaking point. 


The French cavalry prepare to launch an attack. 


Back to the Austrians and their infantry to columns marching off to confront the British. The attacking player has quite an advantage in Maruice deploying second and able to place his entire force in moving formation. 


A turn or so later in the same battle with the Austrians now in fighting formation. All infantry units are combined into a single force so they might all be moved at once. Here the Austrians are forming two lines to try to better cope with the Anglo-Dutch national advantage that allows a reroll when causing disruptions in shooting. The Anglo-Dutch are deployed around the objective. They also used woods and an orchard to guard the approaches to their right flank. Moving through terrain in Maurice causes disruptions to your units but doesn't slow your advance. 


Picture here are the French and Prussians at the point of contact almost. Although outnumbered the Prussian cavalry have a hill in their favour. The linear formations and varied uniforms were two of the main reasons I decided to paint armies of the SYW. 


The Austrian cavalry press their attack through the woods on the Anglo-Dutch right. Thanks to a notable in their army this formation can pass through rough terrain without disruption. Here one units moves to strike the flank of the infantry already pressured from the front by the Austrian infantry. 


Ah ... those lovely lines .... You can see what won the battle for the Prussians in the background ... their reserve of 4 infantry units. The defending player may have up to half of his army in marching formation while the rest must be deployed in fighting formation. This allows the defender to have a mobile reserve that can quickly respond to the direction of assault chosen by the attacker. 


The following two images show the Austrian attack on the Anglo-Dutch. Pressured from front and side the defender's line starts to crumble but not before their national advantage in shooting removes several leading Austrian infantry units. This is why it pays to be in two lines. 


The French cavalry attack on the hill falters as half their units rout. For the Prussians the disruptions mount (as shown by the dice behind the units) by they are clinging on. Elsewhere gaps have formed in the French line as superior Prussia shooting advantages take a toll. 


The most recent game saw the traditional foes matched - Prussia vs Austria. The Austrians once again move into such a position to place their troops against a small amount of Prussians. The Elite unit in the town was soon routed as three Austrian units simultaneously fired aided by the 'Deadly Fire' card. 


The Austrian player (me) pushed 4 units of cavalry far around the Prussian left. This prevented the Prussians from marching up in numbers and exposing their flank. I was able to take on the Prussians a couple of units at a time ... each with advantageous numbers ... eventually decisively winning by as their moral was reduced to zero. 


Ah ... those lines again ... and flags too. 


Impressive but they played no further part in the battle. Their presence did pin several units in place lest a flank be exposed. 


The Austrians moments after they had shot away the Prussians guarding the town. 


Only a few units of Prussians can advance at a time and a long line of Austrians await. 


More of the same really. 


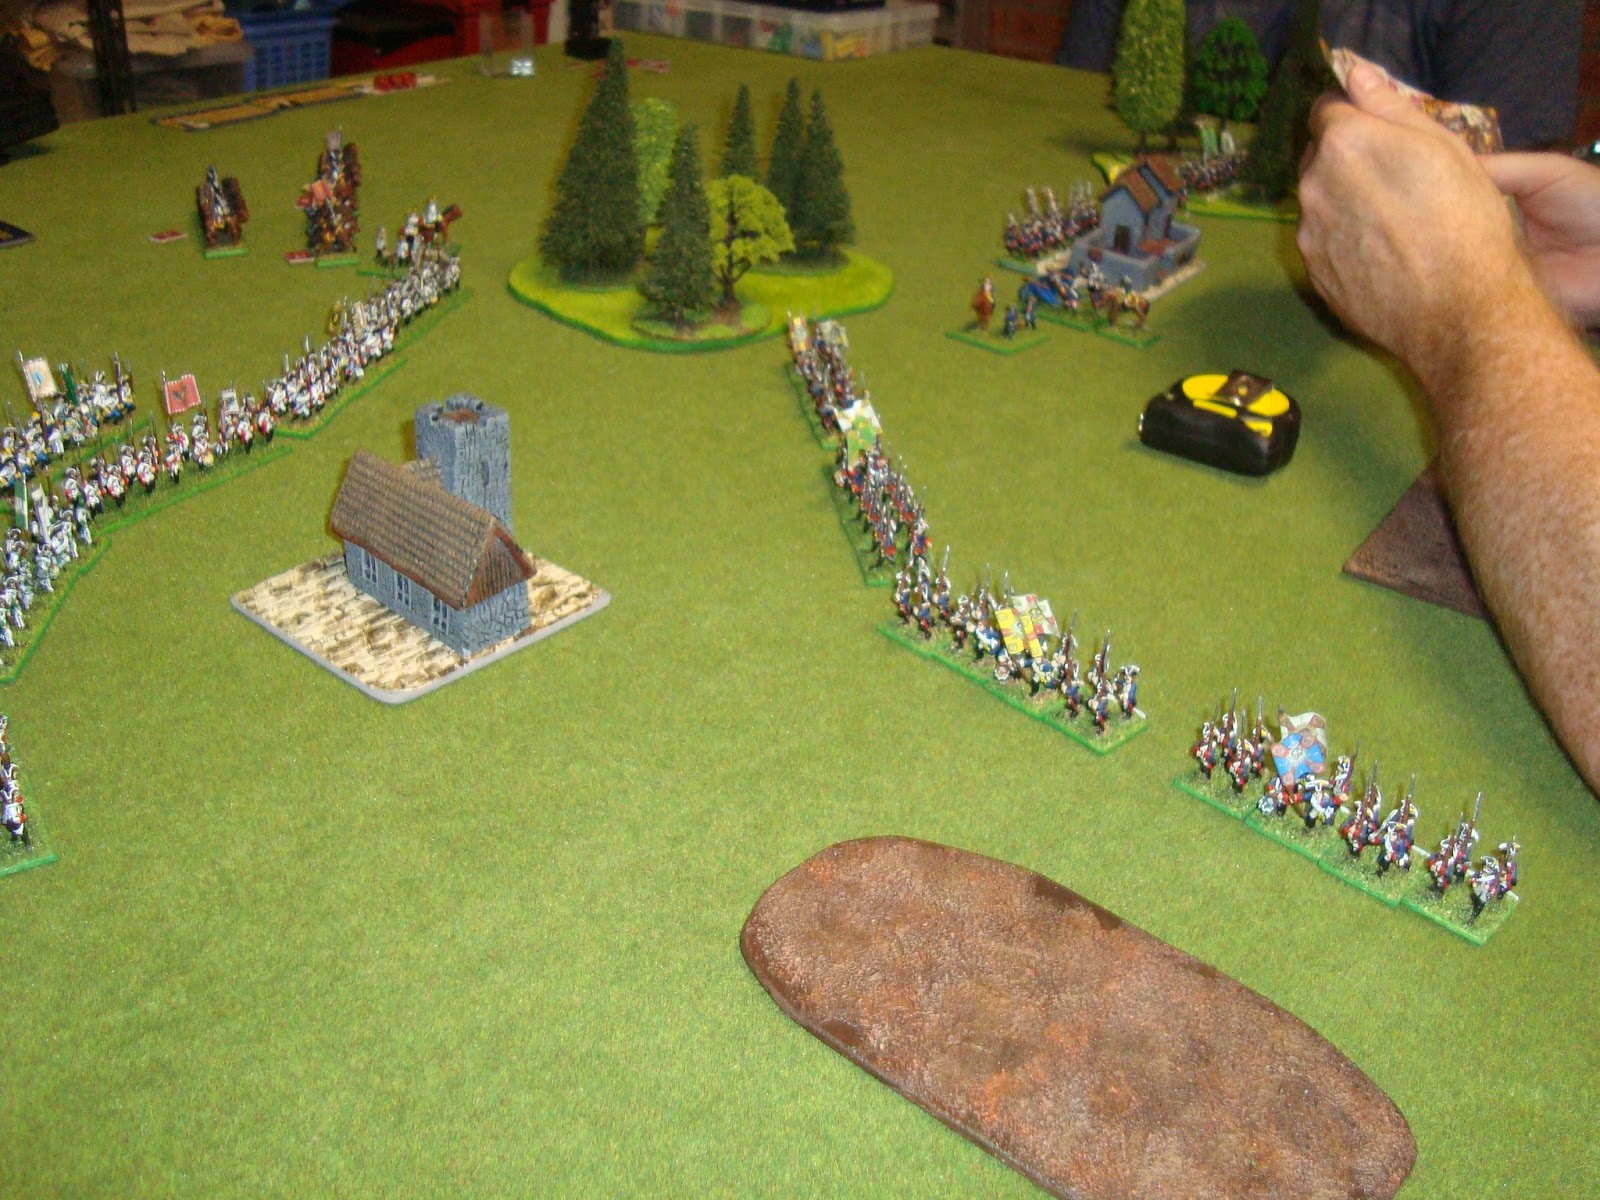
The brown terrain feature is a marsh placed by the Prussian due to a "That's not on the Map!" card. This card can turn battles as it can foul an advance by disrupting troops which march through. While it can be frustrating a bold commander will push through as I did not do this evening. We like this card very much as it represents troops finding the ground to be different than expected by the commanding general. This often happened in battle with the Prussians, for example, stumbling into pools and fishponds which slowed their attack at Prague 1757. 


I have been meaning to do a post about my passion for the SYW for some time and now it is done. More needs to follow and I will try to show more of our campaign battles. The Maurice campaign system is very simple and we are enjoying it very much. Thus far the Austrians are on top (also having played the most games) but haven't defended as yet where they may find their large numbers of cavalry not to be as advantageous as on the attack. Time will tell. 

Breaking the long break

After a long break here are a couple of images just to get me going again ...

The Gallic camp. It has not supplied much luck thus far.


The Turkish camp ... Farook has helped things improve but we are yet to get a win.


Scythed chariots of the Pontus ... never used in anger ... 


The Macedonian camp ... often used and has attracted the favour of the gods securing many victories. 


An unreleated amphibious photo. 


The terror of the lounge ... the dog rends its toy.