Monday 27 January 2020

Napoleonic Prussians

It has been ... around 1 year ... i think ... since I first daubed a Prussian.

Sure, the blogging has been reduced but the painting has continued especially on my Napoleonic project that began around 3 years ago. I always like to paint pairs of armies and after my French the decision was easily made due my strong interest in the 1813 campaigns in Germany. It just had to be Prussia.

When I first caught the Napoleonic bug - at around 16 years of age - I recall my local library possessed a wonderful book on the Waterloo campaign. Back then I spent my first ever pay check to buy 20mm plastic (ESCI?) British but my interest in the Battle of Ligny was sparked by the book and must have festered ever since.

(Note: I have no interest in British armies now ... I view the playstyle of small elite armies as quite dull - give me a massed force of barely trained troops any day.)

Now, after reading both Nafziger and Leggiere on the 1813 campaign, I am enthused by the thought of the avenging soldiers of Prussia and the flair and bravery of their commanders. I am hungry to be finally finished so I can hurl brigades of Prussians against the newly conscripted French in battles such as the Katzbach, Dresden, Kulm, Lutzen, Bautzen, Leipzig ... (that's why I like 1813 - huge scale battles just keep occurring deciding the fate of Europe.)

So in any case here is a first look at my Prussians ... 2 cavalry regiments, 10 infantry battalions, 3 batteries and brigade commanders. The target is 4 more infantry and 2 more cavalry units. Old Marshall Vorwarts will be painted next. (My basing - if interested - is intended for Blucher - my favoured set of rules for this period BY FAR!)


Tuesday 21 January 2020

Victorious Arthur Cornered

This Tuesday witnessed a return to Lion Rampant and Arthurian conflict. This week 'Hammer and Anvil' was played with the previously victorious Arthur cornered by Saxon forces. Arthur was charged with cutting a way to victory and survival. Here perfidious British lords bartered coin for their national (i know the word is ridiculous in this context) loyalty and invested cavalry forces to defeat Arthur - the probable leader of  Briton.


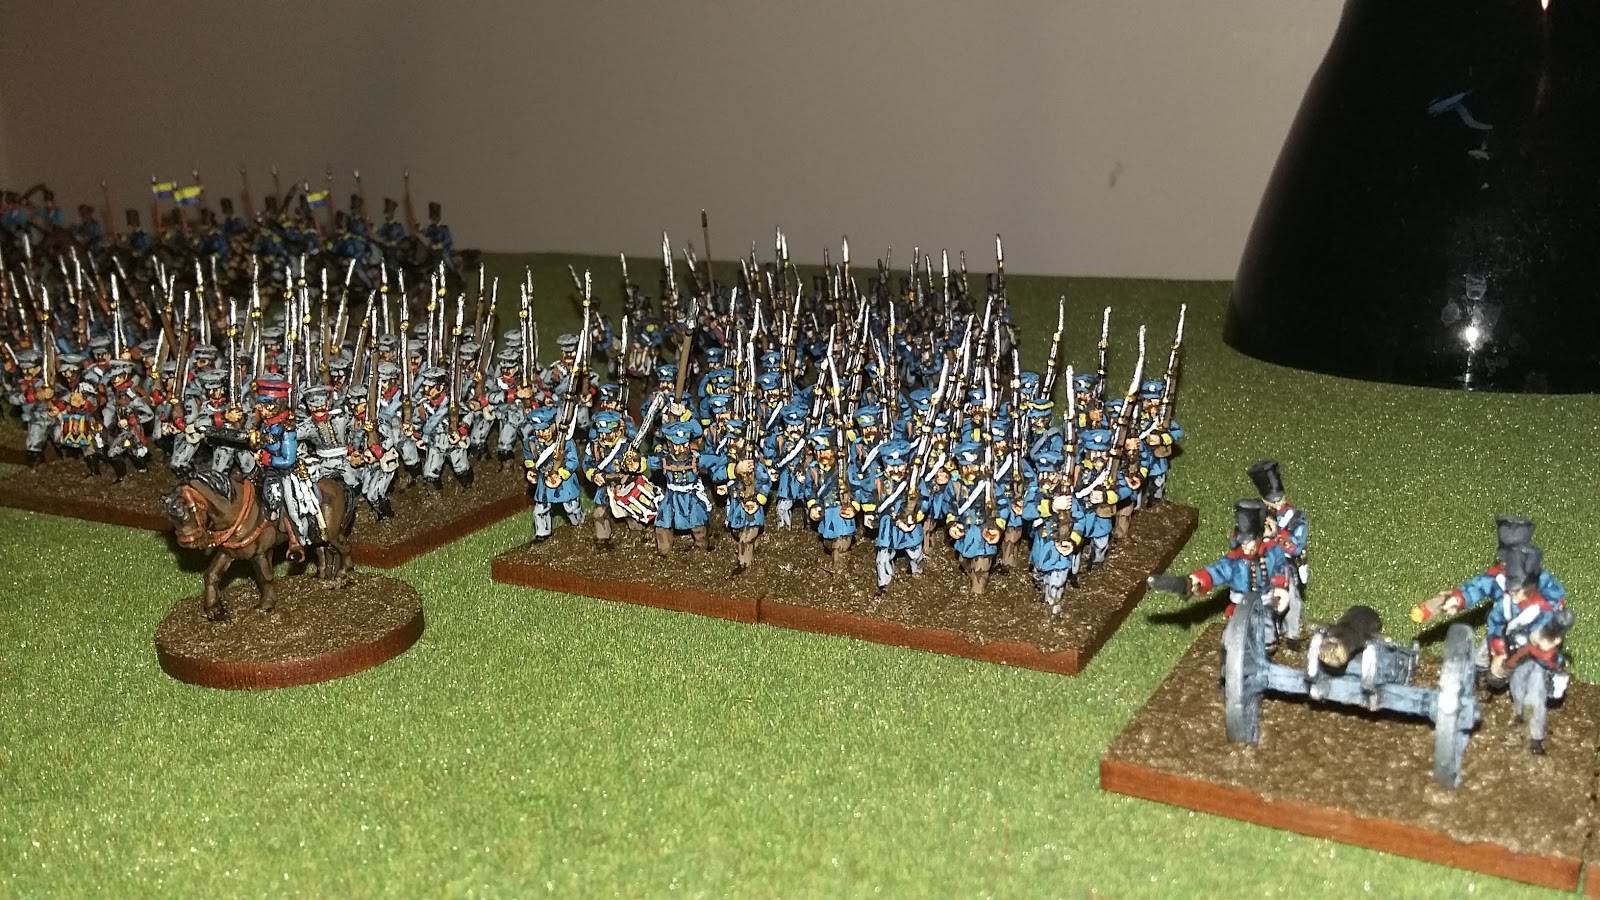
Arthur amassed his forces along the eastern edge of the table. Knowing he was pursued he gave orders for each unit to escape to the SW or NW corners of the table. 


His stolid spear line were probably the most in doubt of reaching safety. They would hopefully buy the time the others needed. 


The Saxons spread some of their forces in the centre to lure the Britons forward. Other were ranged along the western battlefield edge. More followed directly behind Arthur. 


Arthur ordered his men forward but with a harsh gale impeding his warriors ability to hear his commands - the Brtions had scarcely moved before the Saxons were upon them. 


The Saxons forces on just turn 2 were breathing down the necks of  Arthur's warband. The trap was sprung ... would anyone escape? (Note: The Saxon forces are closest to the table edge. Really forces in this period were extremely similar thus making it hard to discern differences on the tabletop.) 

Fortunately the same command problems dogged the Saxons. Arthur may yet survive?


British cavalry rode out trying to flank the Saxons while peppering them with javelins. 


The Saxon thegns held firm in the centre. They knew their role ... the lure Arthur into the trap. 


The spearmen prepared for a clash of arms and a hail of missiles. They formed shieldwall and plodded onward at a much reduced rate. 


British archers tried to reduce Saxon numbers but to little avail. The British were losing too many units to hope for escape. If only Arthur could flee ... hope may spring again. 


Arthur rode forth eager to cut his way out. 


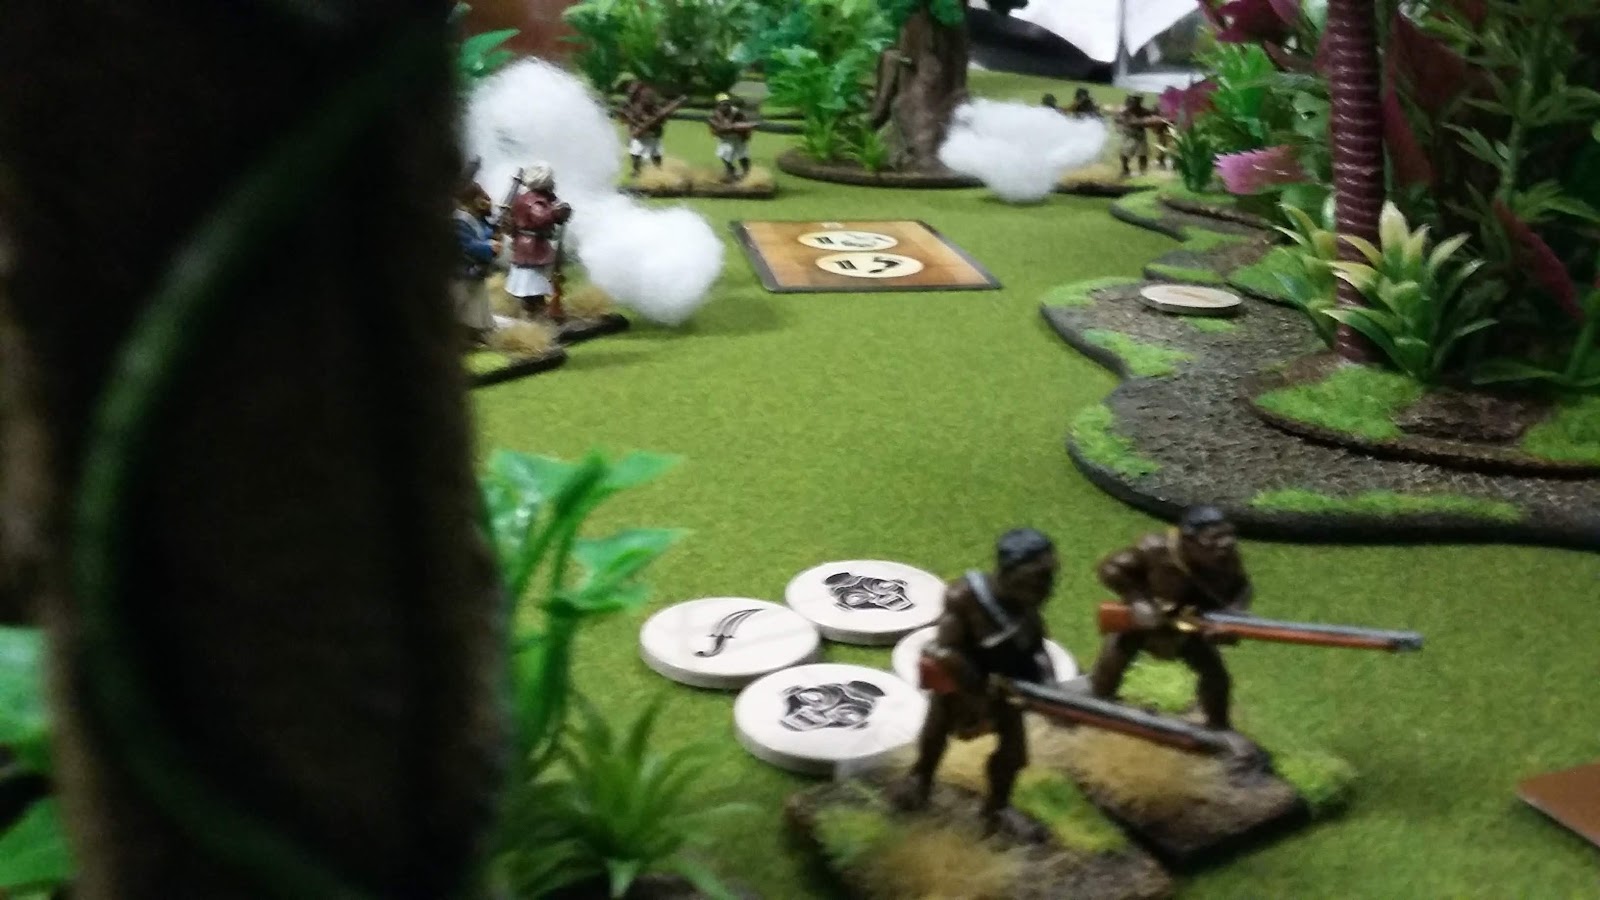
Germanic fierce foot in British pay descended from rough terrain to drive off Saxon skirmishers and inflict heavy casualties on the Saxons. 


Despite their losses, the Saxons had units in important positions blocking the way to safety. 


British cavalry alone were able to ride to safety ... including Arthur. The Saxon forces had been driven off from the centre of the table. Only two groups of fierce foot inhabited rough ground which guarded the approaches to the SW and NW corners. A hail of javelins would bring one such unit down and open a line of advance to safety. But only two cavalry forces could outpace the Saxon bowmen and ride away from this perfidious trap. 


While the hero survived, the British forces - like the Saxons - were devastated. They would have to hope that a core of comitatus would be enough to remake their victorious warband. The Saxons would be emboldened - despite losing all their noblemen and leaders in the fray. In the proceeding months of British rebuilding more forces would arrive from over the waves. 

Perhaps a jealous British king might step forward to command not just his forces but those of the invaders as well ... Arthur's position of dux may yet be challenged in his moment of weakness. 

But Arthur and his core of warriors were not defeated ... 

Monday 6 January 2020

A return of a friend

With holiday painting in full swing of my Napoleonic 1813 Prussians and reading of "Swords around a Throne" continuing - I'm feeling a surge of enthusiasm for the horse and musket era.

Time to revisit an old friend ...


Friday 3 January 2020

2020 Broken Seal - Congo


The year was kicked off in a spirit that shall hopefully be continued - enthusiasm and a carefree attitude to the constraints of work. I decided - after watching  'Jumanji" - to play Congo written by excellent and innovative Studi Tomahawk. My decision was well rewarded. 


I decided to play Scenario 6 - the Treasure of Makoko Mbe. The forces arrayed were 75pts of Explorers against the Zanzibari traders. Above a sacred warrior can be seen guarding the site of the treasure burial. 


The Zanzibari forces mustered from their diagonal corner of the table. 


Hmmm, I believe this is a tree. A rainforest tree. It is very nice and took a long time to construct. 


This is more like it. Slavers and Bundukis begin to trade long range volleys against Askari. The Zanzibari forces would come off second best in all shooting matches this evening. 


While shooting didn't favor the Arabs, they Zanzibari used their Balucchi troops to approach and eventually steal the treasure. 


European troops - this time German sailors - approached the treasure but too late to stop the balucchi. 


On the flank the Zanzibari forces tried to whittle down the Explorer troops but to no avail. 


Yep, thats the jungle. 


More jungle with sailors running along in the background. 


More volleys followed in turns 3-5 but again the Zanzibari were outmatched. 


The large white hand of the Muzungu - I shot those ones. 


The Zanzibari tried to hold up the pursuit. 


The sailors pressed forward. 


Bereft of his guard the Zanzibari trader stood exposed. 


Arab employed bundukis ran for it. 


Now the remaining Zanzibari forces formed a shield blocking the balucchi with the treasure from harm. The White Men Expedition had suffered very little harm. Speed alone would decide victory or defeat for the Arabs. 


Despite reigning fire upon the Zanzibari they explorers could not stop the flight of the balucchi. It was a victory for Zanzibar even thought they had most certainly lost the firefight. Congo was the winner as its simple system gives tricky command choices which is a preferred theme in our little club. The spirit of Africa rises and lives again in 2020.