
After a few weeks off, MESBG was back at 700 points - Isengard versus Arnor. I was playing the good guys and I'd long wanted to play Arnor. They had a good range of special rules and several interesting named characters that do not break the bank or cause opponents to question why they ever played wargames.

In lore terms, this game made no fucking sense as Arnor was all dead long before Saruman went bad. I can only assume some form of Timewarp had occurred leading to this bizarre situation. Maybe two palantirs in one place resulted in a flux capacitor situation ... ???
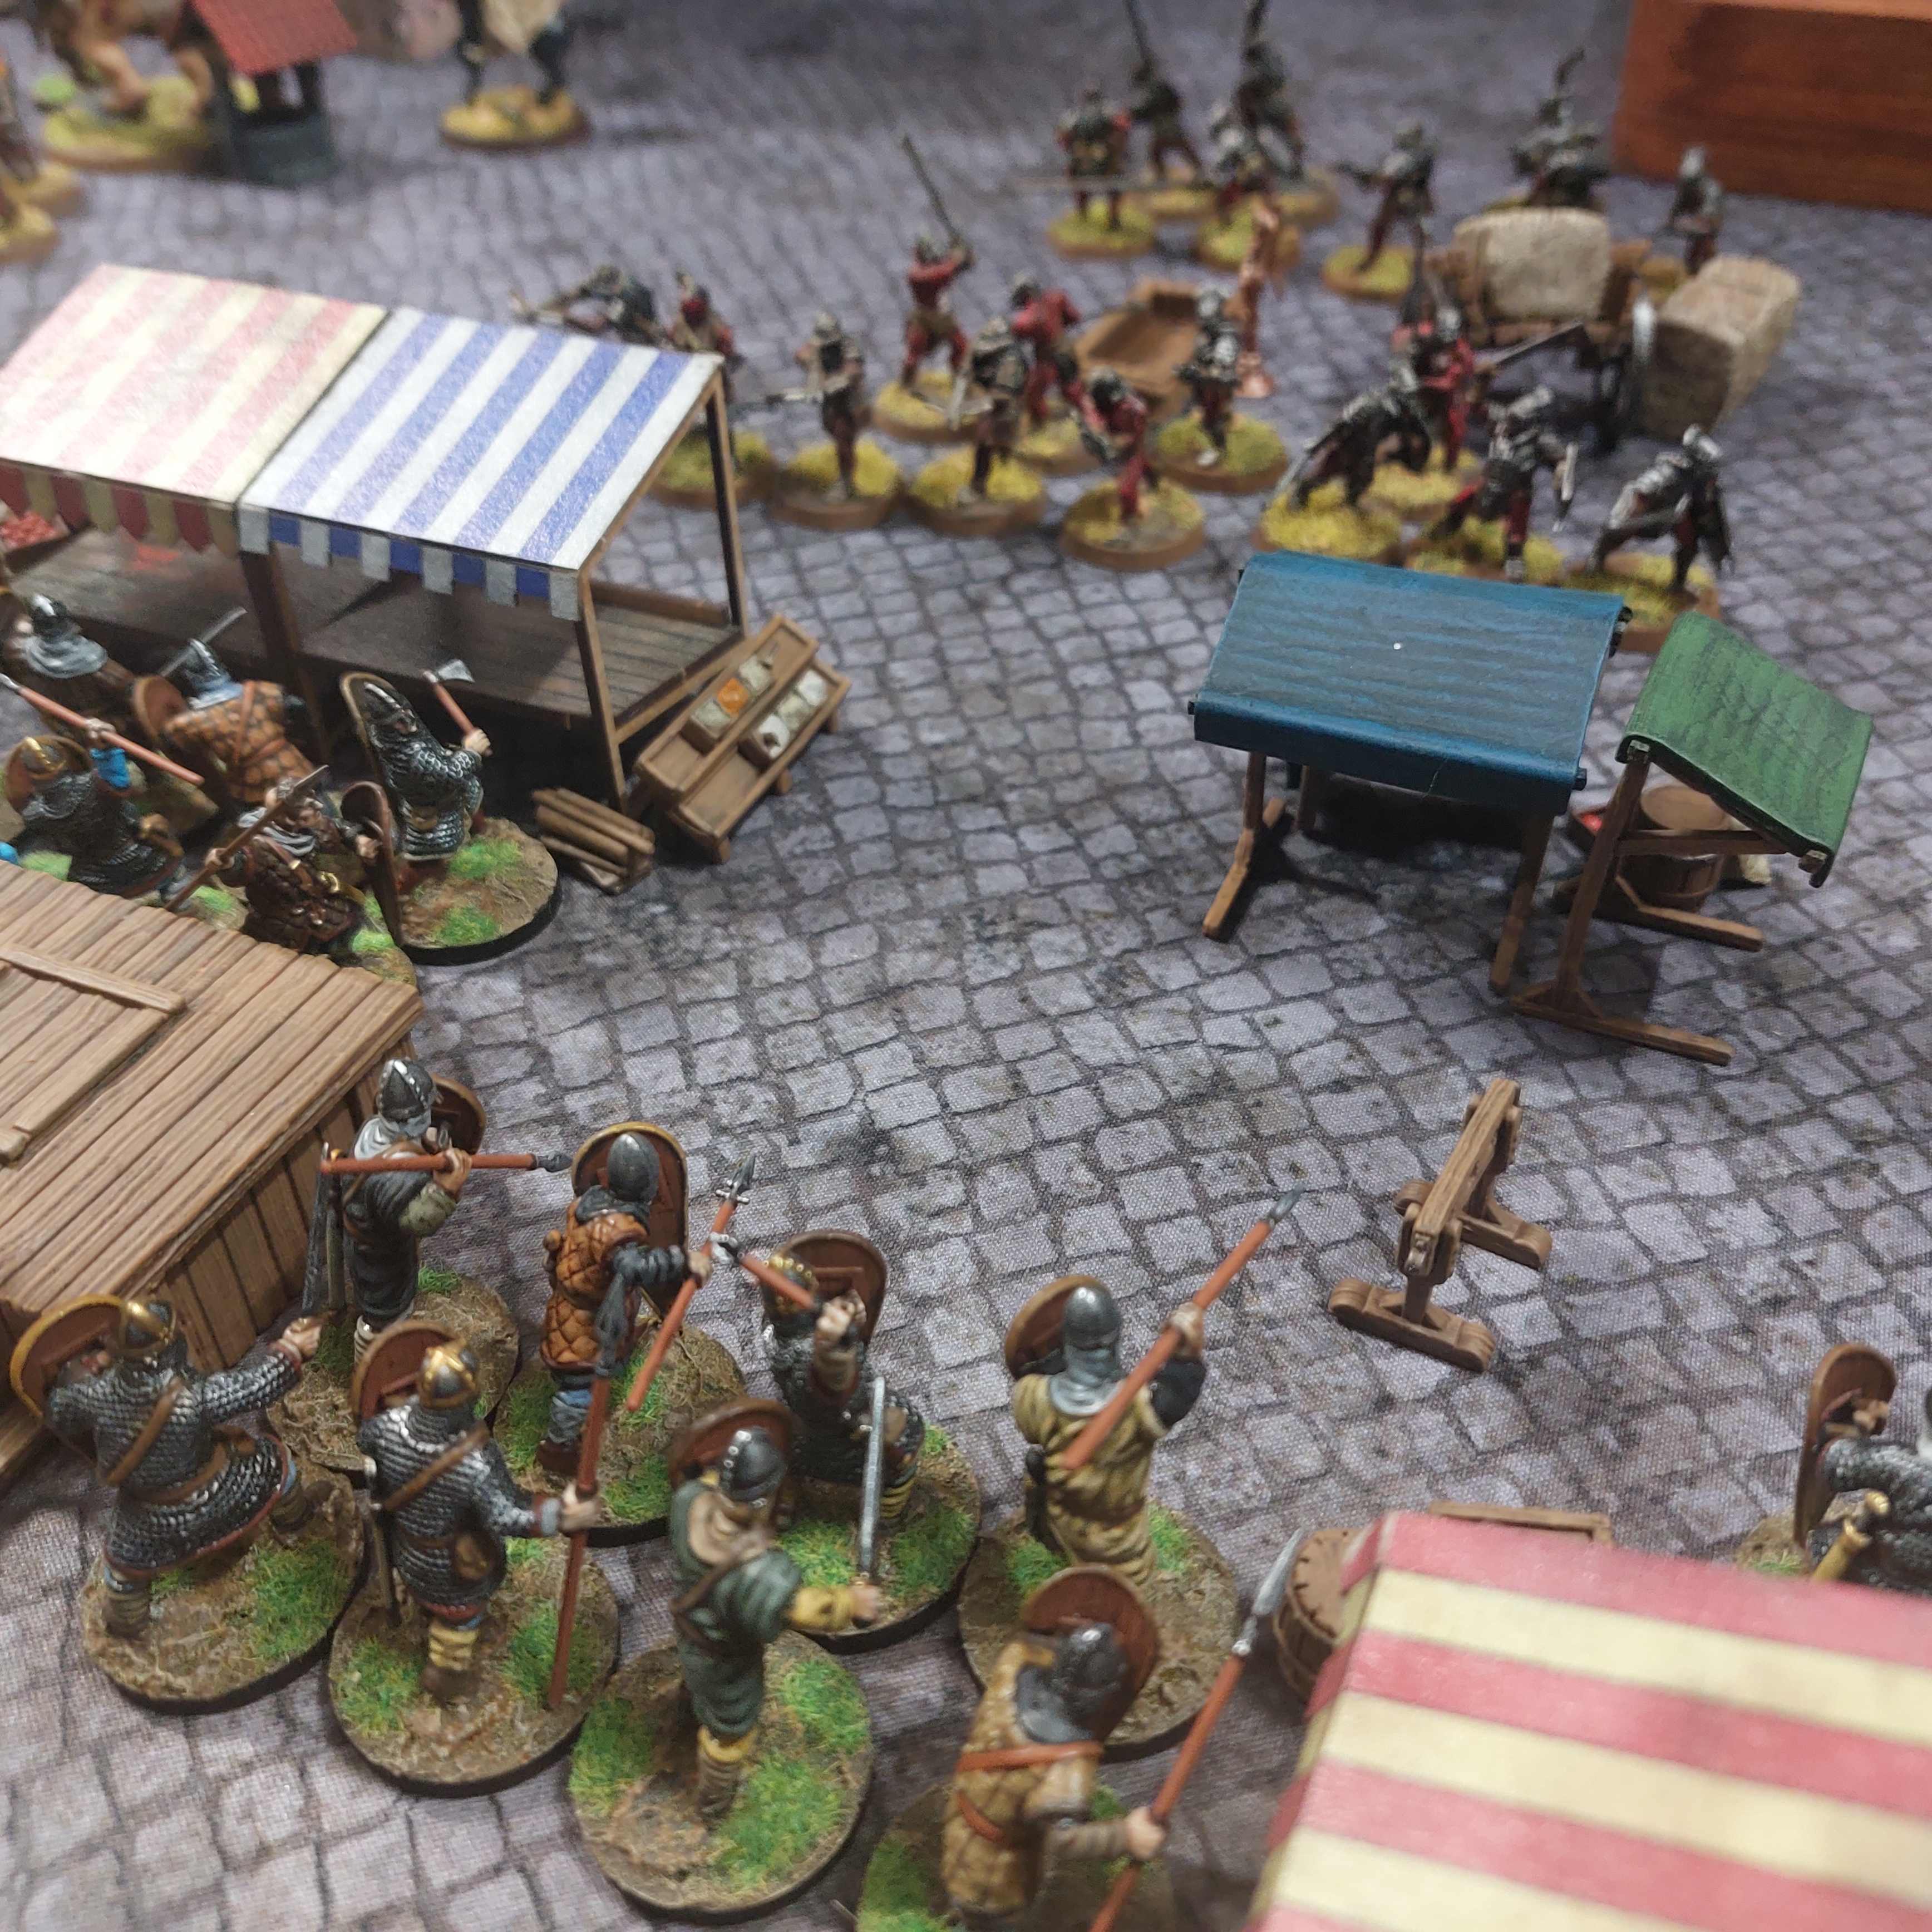
My good friend, Nick, supplied the battle mat and scenery for this evening. He has some great looking Sarissa mdf buildings that he'd assembled. He put together a little market area within a medieval town. I particularly liked the slime covered roofs hinting at decay and sinister themes within this community. In MESBG terms, it may have been Tharbad.


We played a scenario using 6 heirlooms laid in a hexagon pattern, 12 inches apart. Deployment was by maelstrom and the first to flip over the numbered tile had an advantage. Players rolled a dice to determine where their forces marched on. This provided some danger as a larger warband could monster a smaller one. Neither of us decided to do this.

Isengard included Saurman on horse and a troll with around 5 berserkers. It was high points and lower model count. Nick had but two heroes although he did have about 6 crossbows. The Isengard rule that I find challenging is the 2/3 break point limit. This makes them a tough nut to crack fighting to the last.

Arnor consisted of Arvedui, Malbeth, Agadoo and a captain. The Arnor pre-battle meeting can be seen above. In total there were 46 models including 10 rangers and 4 knights. Numbers were definitely on the side of good.

With simply more warbands within the company, Arnor approached 4 of the heirloom markers. I decided to keep my knights at the rear to save for later purposes. My warriors ran forward to try to uncover the location of the heirloom. My 3 initial attempts to uncover it were not fruitful then Isengard found it on the left hand side of the table.

This was quite fortunate as Arvedui's large command was in this area. Isengard could reach it first, by I could - and did - quickly charge to wrest it away. I also had many more warriors in this part of the table. Although the terrain offered limited spaces to deploy archers and lots of blocking terrain. For two armies with significant missile forces, shooting would play a limited effect in this game.

Saruman searched in vain.

The drone shot. On the left, a small Isengard force takes the objective. Their troll is nearby but would take two turns to become impactful. Crossbows held the centre and Saruman was on the right. Arnor forces were just beyond the left of the image with two groups of around 10-12 warriors at the bottom of the photo. They advanced cautiously looking for the best opportunity to commit.

Arvedui ordered a charge. He had a banner and his own fighting skills to bolster his force. Here Arnor outnumbered the Orcs and, with a quick strike, could remove the objective from evil. I also began funneling warriors around to the left to support.

The forces of Arnor slew several foes. Arvedui fought well slaying several. The troll loomed but as yet was impotent. The forces of good press back evil and threaten the model carrying the objective.

My knight continued to wait for an opportunity. Would this prove to be an error?

Malbeth, his foresight throbbing, directed his troops toward a key choke point. From this stage, the central market square terrain would prove decisive. It limited bow shots and stopped the flow of Isengard troops forward - especially in coming turns. This would allow Arnor to move the objective to safety.

Isengard repositions. Saruman swings around to the left while crossbows - and Rascu - hold the centre and try to shoot down Arnor warriors. The scatter terrain made this near impossible.

Arnor continues to slowly bring warriors toward the front but delaying enough to force Isengard to commit. I was looking for a place to strike at the lower defence of the crossbowmen or lap around a side.

The troll reaches combat. Agadoo sits off to the side looking for a chance to charge.
And then it was a palantir battle with both Saruman and Arvedui looking deep into their crystal balls for the future. In this battle of the philosophers, Saruman won out. Then the might battles started with both sides throwing in heroic moves. Arnor won several duels, killing Isengard orcs, and isolating the objective carrier. Over several priorities, Arnor tied up Isengard's troops and this led to slow attrition.
Arnors centre and right crept closer. With my left fully engaged it was time to throw in my remaining forces to stretch the smaller Isengard force and disallow them to concentrate their troops.

The objective carrying orc fell and and Arnor warrior snatched it up, then ,protected by several warriors, began to fall back. Arvedui was left to hold back the tide, but he did still have 6-7 warriors to help - supported by a banner. He stood mightily thrusting back the forces of evil. A ray of sun from the West fell upon this shining helm, bringing despair to the forces of Isengard.
Saruman rode over to the main fight and hurled a sorcerous blast or two. One was willed away by Arvedui but another unhorsed Agadoo. Further transfix spells were thrown against the Arnor king. But he stood tall and regularly felled 1-2 orcs each turn. More than this, his 6 inch 'For the King' ability ensured warriors could charge the troll without courage tests - and they were also immune to Saruman's terrifying magics.

Arnor warriors filled choke points while Arvedui held the line to prevent any evil forces pursuing the objective marker that was withdrawing in every turn. It soon was beyond the range of Isengard to strike at it. Rangers shots whizzed between market stalls trying to fell evil's banner with limited success.

Malbeth's insight of the Eldar points were golden in this phase of the battle. It enabled around 3 key priority wins in the row. This allowed one off warrior attacks on the troll - tying it up - by also allowed Arnor warriors the chance to attack orcs advantageously. Isengard losses were mounting.

Arvedui stands on a handy rock and brandishes his axe - hewing down the foe.

Arnor holds back Isengard doing regular casualties. Evil's small model count was beginning to tell as was Arnor's high break point. We were in no danger of reaching 50% losses. In the foreground, Arnor warriors fought against berserkers supported by pike - a nasty combo. But, Malbeth - he who always knows exactly which card you drew from the deck - used his foresight powers to prevent the deaths of 4-5 warriors. This led to the continued repulsion of evil attacks, while steadily Isengard forces fell.
Each of the Arnor heroes made important contributions to the victory. Agadoo fought alone against the troll and I wonder if, with his horse, he could have been even better. Oh well, Saruman left that nag a smoldering pile of dust not fit for the knackery.

And now my forces from the right assailed the centre, striking into the lower defence of the crossbowmen. Saruman, growing desperate, strayed too close to the combat.

The troll threw successive warriors at the Arnor banner. Low rolls provided protection from these attacks. The troll was under-performing. Meanwhile, Arvedui surged through the orcs before him and fought Saruman directly. In one turn, the king's axe struck multiple times forcing the wizard to spend all available fate. Agadoo engaged in several turns of combat against the troll - even having the audacity to wound it before he succumbed to its blows.
By now, the small group of three Arnor warriors had escorted the objective far beyond the range of Isengard. Arvedui threatened Saruman and I still hard enough warriors to tie up the troll. The Isengard crossbow centre were all killed and the forces of my right were about to join the melee elsewhere. Arnor knights and rangers remained in reserve too.

We called the game just after this image. Arnor was still 10 casualties away from breaking but Isengard had hit this point. Although it is difficult to press Isengard hard enough to reach this point, at 66^ they are also close to routing too. I had lost Agadoo and expended most of my might, but Arnor was still strong with Arvedui still eager for more dueling. Saruman's fate was expended and he had lost a wound.
In the final tally, it was a big win to Arnor. I had expected something much different as Isengard is a very powerful list. I suspect their strenght lies in orcs rather than trolls. Largely, it was terrain that played a part in victory, reducing the effectiveness of missiles and giving many choke points to prevent larger number attacks - but this did effect both sides. Having the objective appear at that place and time was unfortunate for the forces of Isengard. Arvedui's larger force was able to overwhelm and take it. Numbers again allowed Arnor to spirit this away and prevent breaking. The troll did not do its assigned tasks well - Malbeth's forsight points robbed his chances to be more impactful. Malbeth also did a good job in the centre with his magic aura. I made a couple of errors in missing another chance to strike down Saruman with Arvedui but that's my silly fault.
Arnor is a very good army list ... that's my summation.
No comments:
Post a Comment