The year of 2019 has started with a rush of Napoleonic enthusiasm. This was enabled by a greater desire within the club to play the 'Blucher' rules (by the much admired Sam Mustafa) which I rather enjoy. This has undergone a resurgence - but I must admit to tweaking the rules a little here and there to suit club tastes.
In any case the bulk of this post will deal with a game from the 22/1/19 which matched two historical forces (more on that later) against one another.
All players enjoyed the game and found it challenging. The French were attacking but that did not stop the Russians from advancing strongly on their right flank. While this seemed to be bearing fruit for much of the game it finally - perhaps - was one factor in their defeat.
As usual when playing Russians in Blucher - their artillery was a serious threat - but on this occasion it was devastating. The Tsar's commander - Mikael - was blessed by an entire host of angels and threw six after six decimating the French as they advanced. Not only this but when rolling command dice he was as cruel as the Russian winter itself by only doling out the minimum of pips to the French. This has a crippling effect of the French attacks but with some harsh decisions - the French corps commanders drove their main attack relentlessly until it finally achieved its appointed goal.

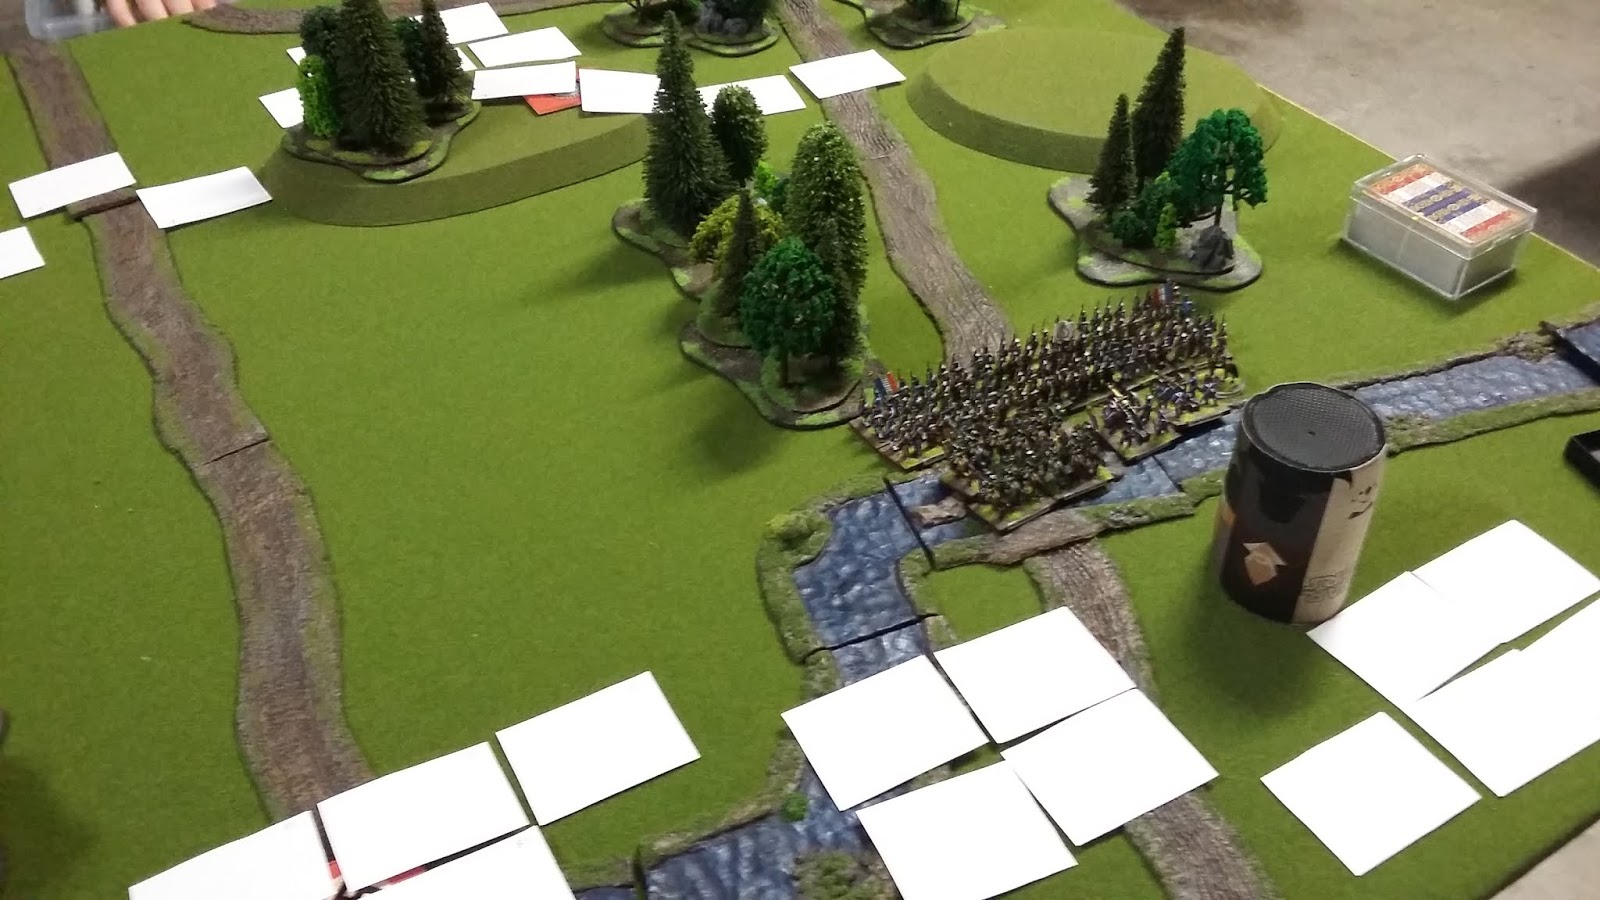
I modelled the battlefield on Borodino – just to the south
of the Raevski redoubt (didn’t put the redoubt on) – but increased the amount
of woodland and added a road through. This created an open section of the
battlefield and a wooded area the French could drive an attack through (or a
Russian counter attack just as easily.)
I had previously made up several pairs of army lists based
on the actual divisions in the Borodino battle and who their opponents were on
the day. Each army was 200 points and gave each side elements that they liked
but not everything that they wanted. (I’ll attach the lists later if any are
interested.) I also made cards that afternoon to use which you can see pictured
as simple plain white squares. The cards showed which historical unit was
present.


The Russians – being the defender – deployed first. The
French then decided to employ an attack using three divisions – the 10th,
11th and 25th – through the roads in the wooded area of
the board – hoping to shield themselves from the combined artillery of the
Russians. The remaining division and cavalry reserve would guard the objective
and look for ways of supporting the main attack.

The French attack on the right.


As it was the Russians attacked. They came marching with one division across the table to flank the French and take the objective. This was supported by another division which marched up the middle of the table. Three Russian batteries would aid this attack and cause havoc among the French. This attack seemed to be working very well for much of the battle. It forced the French to funnel more and more men in to stem the attack.

The Russian counter attack on the French left.

It caused one French division – the 10th – to split it’s forces to support the centre which looked like being surrounded. These relieving troops has to struggle through a dense wood but arrived to pour fire into the Russian centre and halt it’s advance. This took pressure off the French force holding their objective but as these units had been badly damaged by cannon fire the cavalry reserve was also turned to ward off the flank assault.

The Russian centre pressing the French objective. It has just begun to turn a unit to face the French troops approaching through the wood.

The French main attack on the right - looking toward one Russian objective and the dreadful heavy battery that would cause so much damage. (At this time the French have already lost a unit to its fire.)
On their way into position an elite French infantry unit was entirely destroyed by Russian heavy artillery. The same battery also drove off a French battery (who hadn’t fired a shot) and put another two hits onto yet another infantry unit. It seemed like this Russian heavy battery had laser guidance.

The French cavalry movement was countered by the Russians. Their cavalry reserve rode around the flank – via a reserve move which took
advantage of the hills and intervening friendly troops.
Now both cavalry forces stared at each other waiting for one to flinch. (This is just drama really ... it didn't take too long.)
The presence of the French cavalry forced the Russian infantry into prepared formation thus halting or slowing their advance – further protecting the centre. The French cavalry were then the first to engage as they launched a series of charges into the outnumbered Russian cavalry and into the infantry that still struggled to move against the heavily damaged French centre. The result of these attacks drove the Russian cavalry back and destroyed a Russian unit. By this time the Russian guns were low on ammunition and the French guns – dragged into canister range – and musketry finally began to take a toll on their foes weakening and even destroying one jaeger unit.

What pretty pink fellows!

The French flank was defended in force.

Note that for some reason a mobile phone tower resembling a foam beer cooler was installed on Napoleon's order ... only to be quickly dismantled. (This is what we were using to keep the MO dice secret.)

The cavalry clash ...

The Russian infantry would here take terrible losses as the French had done for much of the battle as they stood guarding the objective being raked by accurate Russian artillery fire.
This was now late in the battle and events now turn to elsewhere …
This was now late in the battle and events now turn to elsewhere …


Back on the French right ... the infantry collided ... the objective was open if they could just take those last couple of units. The French would take revenge from those horrid cannonades with the bayonet.

French infantry units had marched through the woods into flanking positions or to enable multple units to charge Russian defenders. These now attacked the Russians – some of whom were weakened by French skirmishing (some of their units also had attached artillery batteries to make their fire more deadly.)


For most of the battle the outlook for the French seemed
very bleak but the commanders adhered to their plan and finally gained the
position they had long strived to obtain. This battlefield position enabled
them to threaten Russian flanks, place multiple units against single attackers
and pierce gaps in the Russian line. The French army was bloody - very bloody in places - and with 2 units lost but it had obtained a very hard fought victory. Vive L'Empereur!