Friday, 24 June 2022

Lasalle 15 mm Napoleonic Wargame


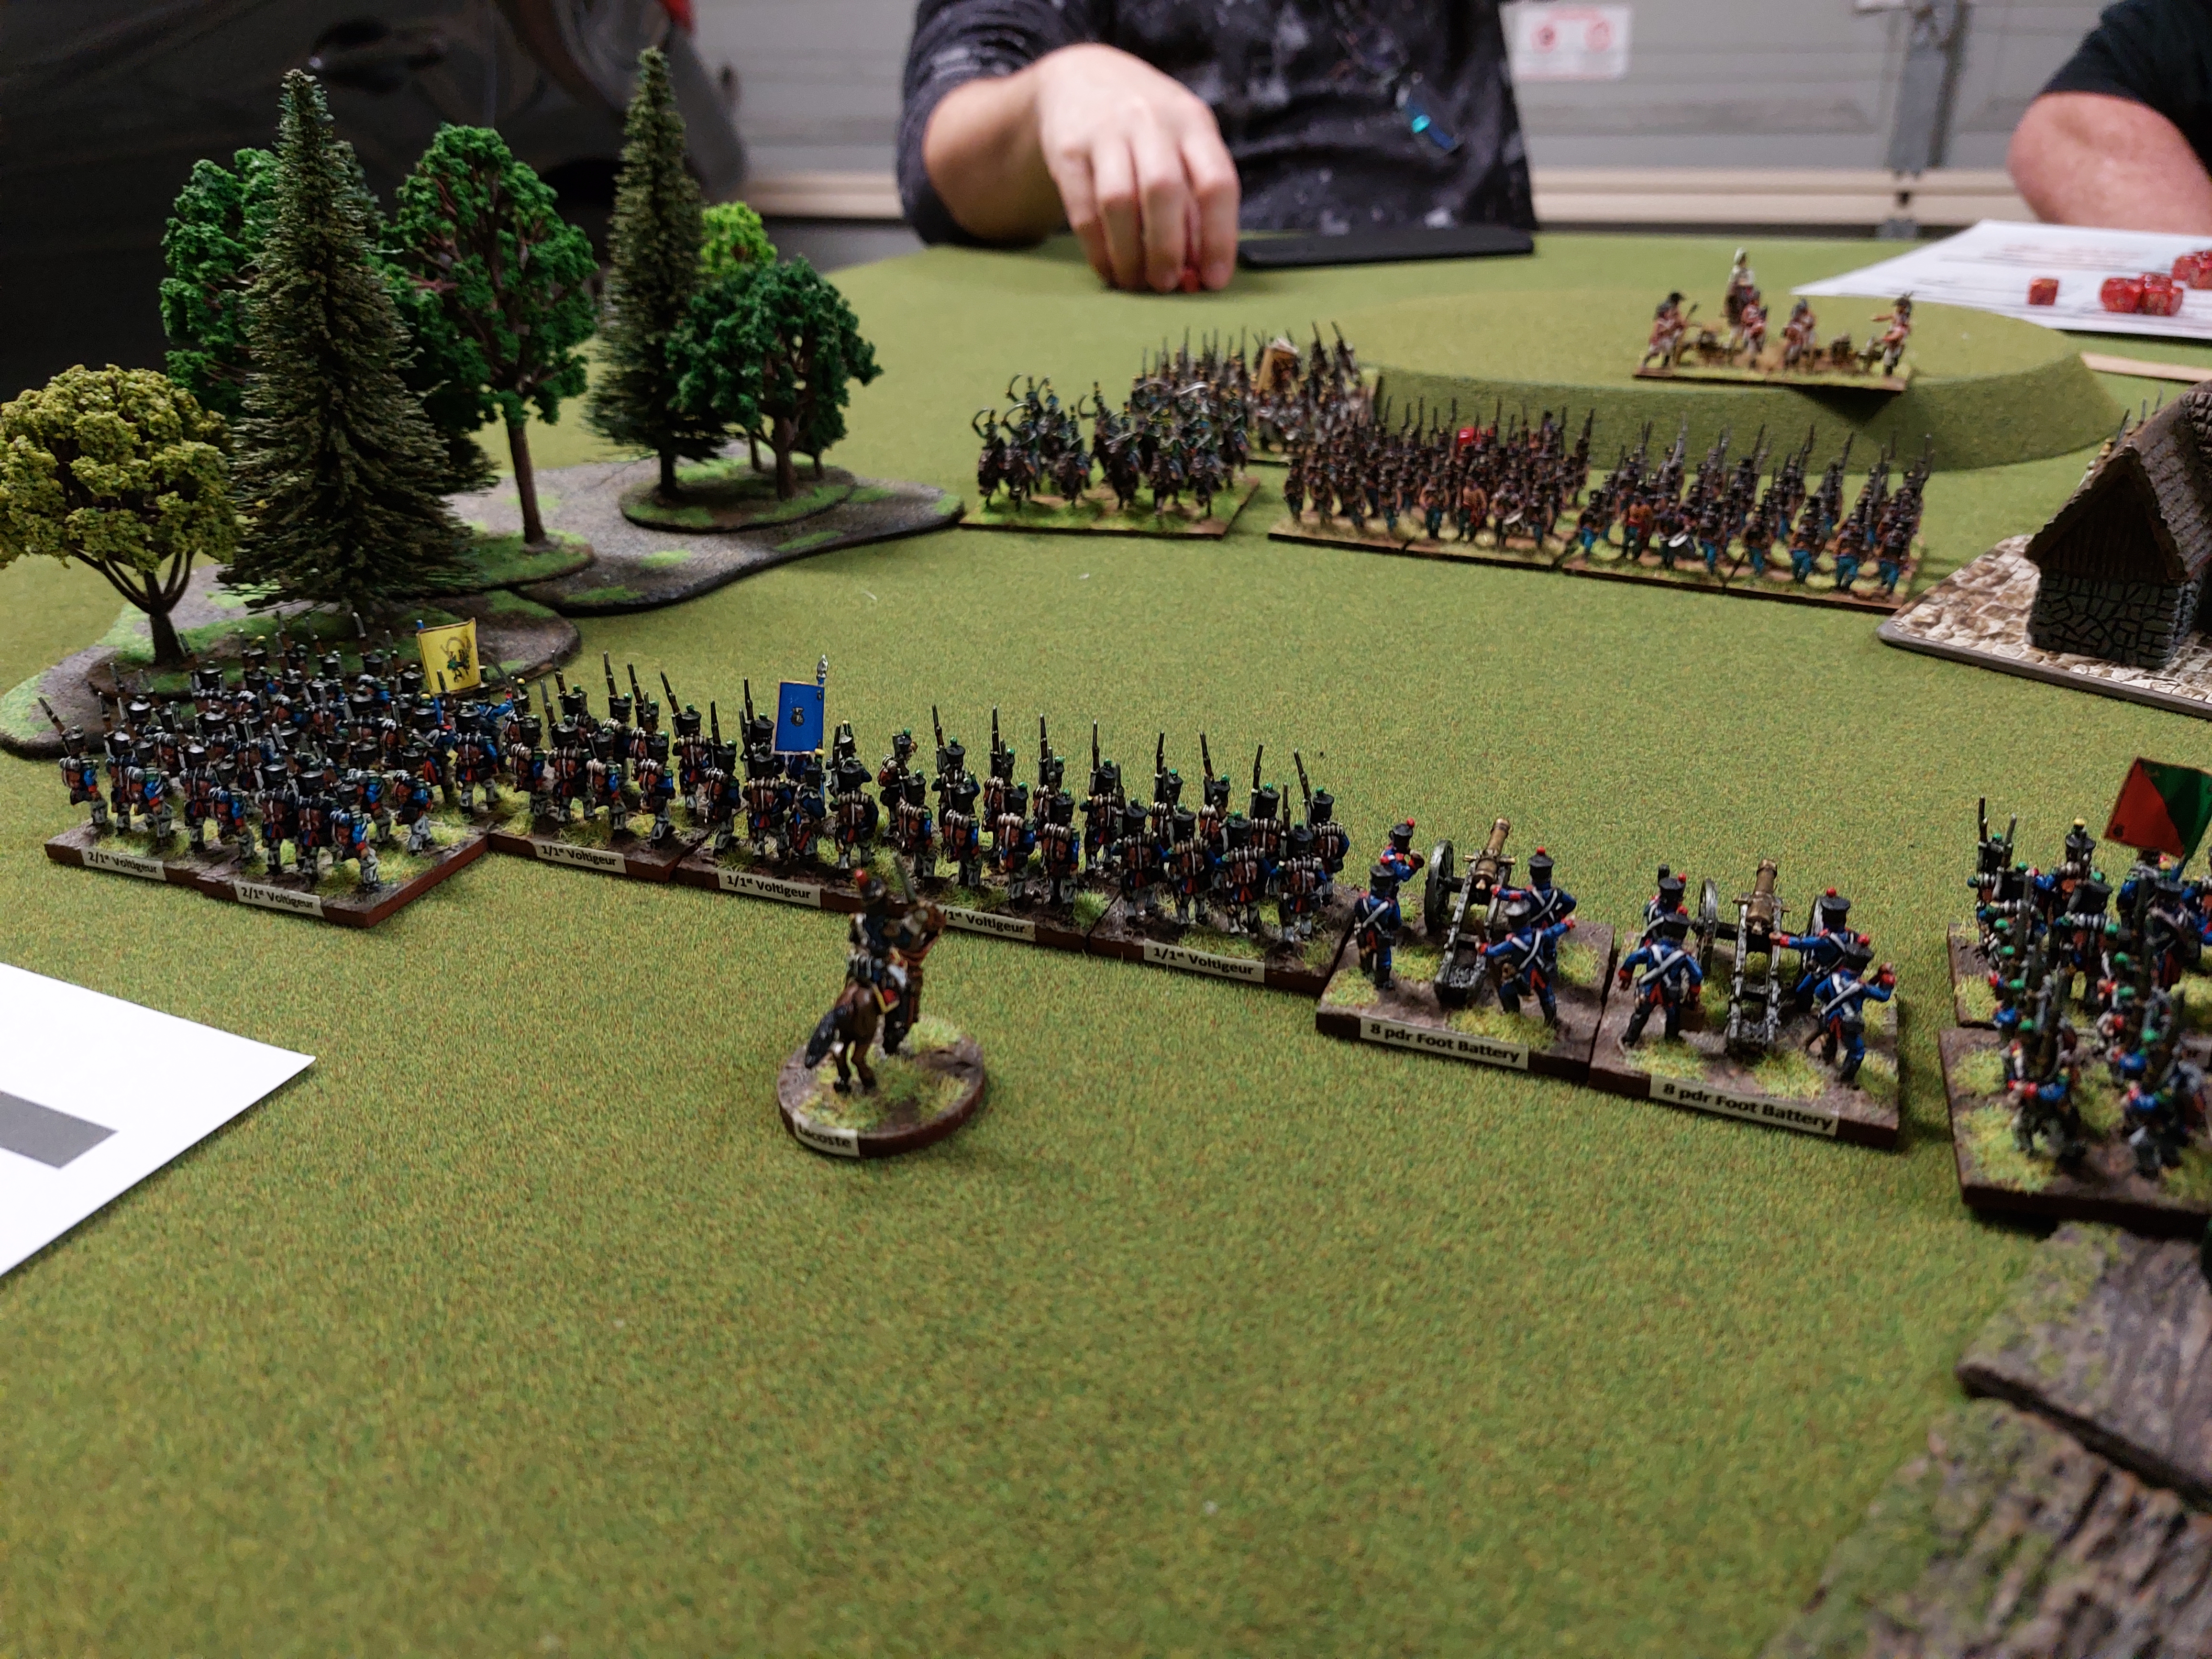
This week saw another Lasalle wargame. This time, after a close withdrawal but my regular opponent, I ran my friend Nick through the rules. He is a veteran of Blucher and this would be his second game of Lasalle 2. We used my Prussian and French armies and the same list (ie: 8 foot battalions, 2 foot batteries, 2 light cavalry and 1 horse battery.) Roughly 200 points. 


Nick tried repeatedly to work around the flanks while I tried to push forward and catch his troops before this could occur. It was an extremely close run event with a 1/3 sudden death victory condition and an 8 turn time limit. 


Before the Prussian could push forward on their right, the French lapped around, moving their battery into enfilade position. This did not have a telling effect but whittled a couple of hits from the extreme right unit. 


The rear brigade of French struggled to get into position and make an attack. The Prussians pulled back using the forest to impede movements against their flank. 


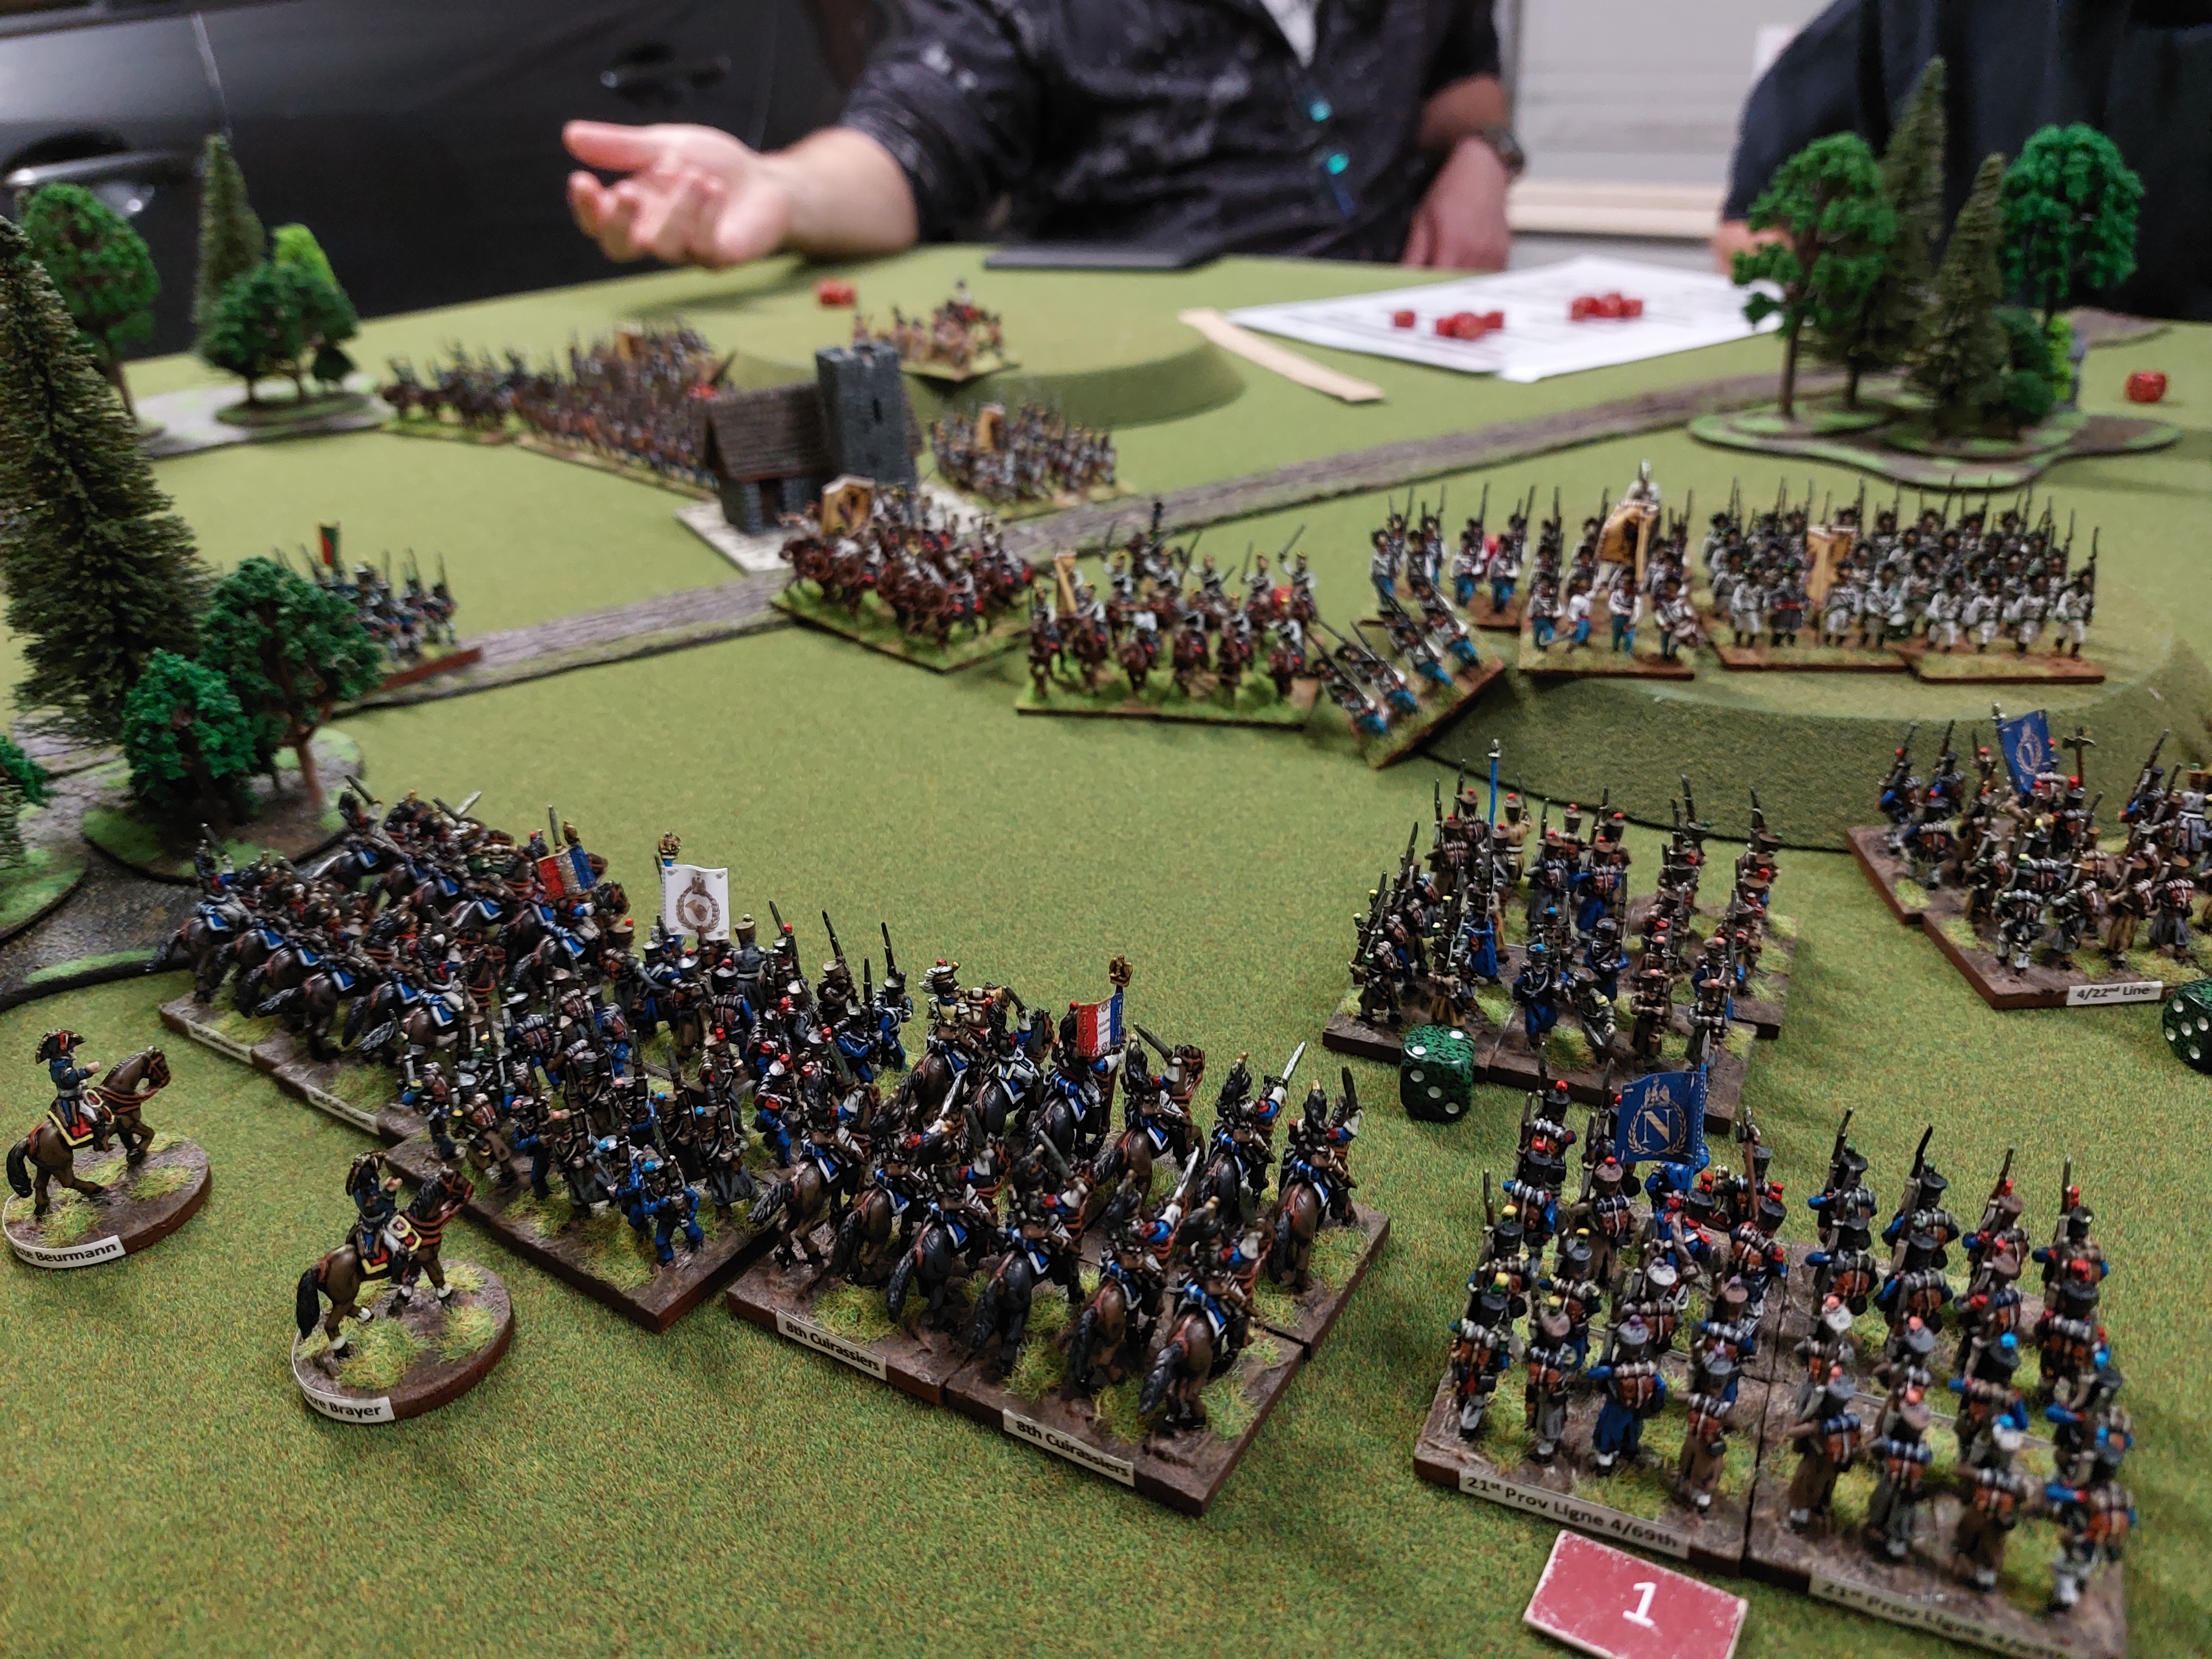
The centre saw French lines form to use firepower to break up Prussian attacks. This had reduced effect as the Prussian light cavalry made their advance in the centre. 


Uhlans charged past the village to rout the first line of the French central brigade. 


The Prussian left advanced to try and impede the French chasseur brigade who were trying to draw infantry away from the centre. This was effective but concurrently denied a cavalry presence to negate the Prussians. 


Prussian infantry advanced but were consistently unable to come to grips with the faster horse battery or cavalry. The ability of the French to strike the centre was reduced by this action. 


As usual with Lasalle, a major element was getting your units untangled to have enough room for the attack. Above, Blucher struggles for sufficient space to deploy his guns. 


To the decisive action, the Prussian cavalry charged again and again. Some rallying, most ineffectual, restored their ability to carry on the fight. Weakened French units succumbed over time. The pressure to have enough skirmish points to challenge the MO rolls and seize the initiative stopped the French player from putting infantry into square. This left several battalions vulnerable to cavalry attack. 


The Prussian left had pulled back, leaving the French left - dispersed into line - a difficult chance to try and envelop. Now attacking a single unit - protected by forest - the French did not manage to shake out from a conga line before their third unit was taken. 


Finally, after moving to right and left to obfuscate, formed for an attack. But, the Prussians utilised their commander's ability - forgoing additional MO - to snap into square. Without hits on the infantry, the French chasseurs would delay in charging. 


Meanwhile, Prussian cavalry sealed the victory ... but at 2 units lost to 3, it was a very close affair. Untangling units is still a major difficulty to maximise attacks. A forgot the creation of a grand battery in the centre which may have been useful. This game was decided by pushing to charge at the expense of volleys or cannonades. 


A very enjoyable game which uncovered an interesting conflict in tactics. This time direct assault triumphed ... but it could so easily have gone the other way. 


Wednesday, 18 May 2022

Lasalle 2 Napoleonic Wargame Battle Report


Another game of Lasalle 2, but this time we were blooding some new players and experimenting to see if we could play a 300 point game on a weeknight - with an early start at work the next day. 

Both turned out successful! 


Our game was ... run up and murder each other - rather than a scenario. My opponent and I both like the 1/3 sudden death victory condition - so we used that. After an initiative roll off, it was the Austrians to go first. With great haste they rushed across the field - using their maximum movement in march column. They pushed 3 of their 4 batteries to the front of their attacks and changed formation. A bombardment activation followed - hoping for many bounce through effects on the still marching French formations. A few hits resulted by nothing too serious. 

After this, it was the French who used their MO points. Faced with three batteries in key positions - two taking up a hill in the centre of the table (supported by a brigade of grenadiers) they decided to rush to the attack. They marched within 4 BW and formed attack columns. At this stage, the Austrians could interrupt and seize the initiative but as each unit had moved, changed formation and bombarded nothing could be done. Superior French skirmishing at the beginning of next turn would decide who would move first ... at it was the French. 

Attack columns smashed into the Austrian batteries before they had a chance to fire with two falling and only one being able to withdraw. The French had struck an early blow with 2 units of the 5 needed for victory falling at the beginning of Turn 2. Another Austrian infantry unit would follow as it had strayed too far forward allowing multiple attack columns to rout it. 


But now a harder prospect remained for the French. The grenadier brigade on the central hillock. They would charge against the mix of veteran and conscript French battalions - but to little avail. The French doggedly rolled 2-3 defence dice hits denying the Austrians the 'win by 3 or more' factors needed to easily rout opposition. 


On the French right, a single Young Guard brigade stood in the path of the Austrian Avante Garde. This mixed force only pressed ahead later in the battle. A furious French assault drew the attention of both Austrian players who continually invested command points (MO) into fending off and counter attacking the French centre and right. This suited Napoleon just fine as this is where the bulk of his forces lay. 


The Young Guard used 'le order mixte' and a battery to prepare a fearsome firing line. 


On the right a French brigade of veteran battalions continued to drive forward. They attacked a Austrian brigade depleted of one foot battalion and artillery support after the initial French assault. Columns surged back and forth but the French were holding on in defence and wearing down their enemies. Having a 3/2 advantage was weighing greatly on the men in white. It was here another battalion would fall - leaving the French one away from victory. 


The French now began to suffer some casualties - losing two battalions - but they still had only one to take. 


It was not the grenadiers who would fall ... 


The Young Guard remained firm ... though they would soon be forced into squares by the approach on one regiment of cavalry. 


It was the French cuirassier who swept from their reserve position into the centre. Quickly striking at one Austrian cuirassier regiment with a two to one advantage (16 dice to just 5) it looked like the game was sewn up. But their steeds stumbled and they struggled back. 


The Austrians countered but stumbled themselves while the French reformed their squadrons and achieved the 3 or more combat factor - routing their opponents. 


It wasn't the glorious first charge of heavy cavalry that decided the battle but it was achieved in the swirling melee of countercharge that proved crucial. At this the Austrian commander withdrew his troops losing 5 units to 2. 

Lasalle 2 continues to impress. We have a bit of trouble in organising our forces (our troops keep running into each other during formation changes from march column to attack or mass formation) and I intend to make a transparent template to aid alignment and direction in charges. I really want to introduce the advanced skirmish rules and the command trait - as atm it is too tempting to commit your general to generate an additional 1d3 command points at the beginning of each turn. Having a alluring alternative gives another head scratching command choice that I like in my wargames. 


Wednesday, 11 May 2022

Lasalle 2 Napoleonics


A return to Lasalle, for me, is a return to that definitive rivalry of the Napoleonic era - France against Austria. Tonight we dusted off the cobwebs (having not played Lasalle 2 for around 2 months) and dived deep once more into this excellent and challenging set of rules. 

Above the French form their line. Having lost initiative, the French formed up to face the Austrians who rushed across the field. This caused some problems as - in the Lasalle scenario 'The Dark Forest' - extensive woodland discourages players from entering. Woodland does not slow movement in Lasalle but increased the command cost of marching troops through it. As command points are always at a premium - neither Ian or myself were brave enough to try. 

At the bottom of the image above can be seen my brigade of Chasseurs. These I kept in the centre - a tactic that is becoming repetitive for me. Centrally placed cavalry can run riot in Lasalle or just halt an enemy advance. They would play a key - but not decisive role in this game. 


Next, an image of my friend's well painted AB Austrian grenadiers. He's been aching to put these on the field but they are a bit pointsy. In this battle they struggled to get into action. As the Austrians rushed up, they then encountered problems in shaking out. Their batteries were impeded. Ian made the choice to hang back with his grenadiers to allow his batteries to fire. 


Above are the poor Austrian brigade who led the attack. Due to holding the grenadier brigade in the centre back, these were thrust forward making them the key French target. The village on Bosco was also an objective for this evening but Austrian morale would crumble before this would fall. 


The glory of the French lines. We too struggled to get clear of the forests but they did protect our flanks wonderfully. The French were in two lines throughout the night - but the second line was only needed once. This played a key role as the right brigade poured forward in attack columns repeatedly smashing into the projecting Austrian brigade around the village. This would ensure victory as four battalions fell in this area while not French losses were suffered. 


A good battlefield shot. The depth in French deployment, while offering excellent support in reserves, did mean we faced bounce through cannon balls throughout the game. Fortunately, timely rallying enabled us to stave off the worst of these result. The recruits of 1813 stood manfully while cannonballs slashed through their ranks for the glory of their III corps and Emperor. 


Friday, 29 April 2022

Sculpting Foam Wargames Terrain for Mordheim


Unfortunately there are no images of the creative process. I hacked up my previous pieces of terrain that were not very functional. I glued to new mdf bases then added more foam blocks. 


My aim was to create easier access to high terrain without too much reliance on successive initiative tests. This limits too heavily those who will even attempt to climb in Mordheim. I really want to see daring battles high from the ground to make games more dramatic. 


This is just a really good beer. 


I table from a recent Mordheim game. My new foam pieces blend quite well with the Hirst arts moulded pieces. 


As you can see with the Spider Tower, I wanted to create multiple ways up many of the pieces. 


Previous forested terrain from foam blocks also goes quite well with the new terrain. I'm quite happy now with the dry brushing of my new skirmish gaming table. It has no flock. I might flock one day but I need to get some darker flock to make it work. 


I like to envisage an older Mordheim, years after the comet impact ... considerable ruined and overgrown - or areas just outside the city walls. 


Sunday, 20 March 2022

Mordheim, Sigmarite Mausoleum and a New Skirmish Board


This post is about a few things and nothing much really. 

Firstly, I've been meaning to assemble the Sigmarite Mausoleum in the configuration shown on the box for some time. I wondered if it would be too cluttered to allow easy access to figs. It looks great and works well. I'll be using it in a game soon - I think gamers won't knock the buildings over too easily in play. 


The next two images feature my new board for skirmish play (actually ALL these images show the new board!.) I used the same method as my earlier desert skirmish board. It is 3x4 feet in dimension as is 6mm mdf board. 

(I do love the Knight of Shrouds - I'm always on the edge of buying a Nighthaunt army to paint ... and then I remember what an average gaming system AOS actually is. Not sure GW have ever made a good battle game but they do make good skirmish games.) 


I stipple multi-purpose filla onto the board to create ridges. These are these pretty easy to dry brush. I added some patches of green too - but need to brighten these. I added some flock but couldn't get it right. The flock was either too bright or the patches I applied it in didn't look right. I've been scrubbing the flock off. The project had currently stalled as I can't decide what to finally do. I think I'll just be painting it. Covered in terrain it looks good. 


My daughter hard at work in designing a setting for one of her stories. 


This is the table from last Tues night's Mordheim game. It worked very well. I have included my scratch built blue foam terrain too and my buildings made from Hirst Arts pieces. 


I do still need to give those bridge sections a light drybrush of bone paint to complete the look. 


Oddly, it is the trees that really complete the graveyard appearance for me. Overall, i think the dark board suits the gothic atmosphere I was going for. In my mind, the cemetery at Mordheim should be enormous - like a whole suburb - or a Grave World with the living surviving from looting the remains of more glorious ages - and avoiding the guardians of the dead and the sinister Undead looking to manipulate all three (graves, guardians and the living) for their own nefarious ends.